Viewing entries by
Elle

Granola & maple stuffed pears

0 Comments

Share

Granola & maple stuffed pears

This month I shall mostly be seeking out the cosy.

This will involve evenings spent drinking tea, reading, and hiding under a nest of blankets with my reluctant cat Truffle.

Baking is certain to be involved too, but I'm looking forward to creating some healthier recipes this month. Less cake and sugar, more fruit and veg. I really crave healthy at this time of year, cliché I know, however I'm serving mine with a healthy dose of comfort thrown in. I'm a fan of quick simple recipes, whose virtuous qualities are an afterthought to enjoyment.

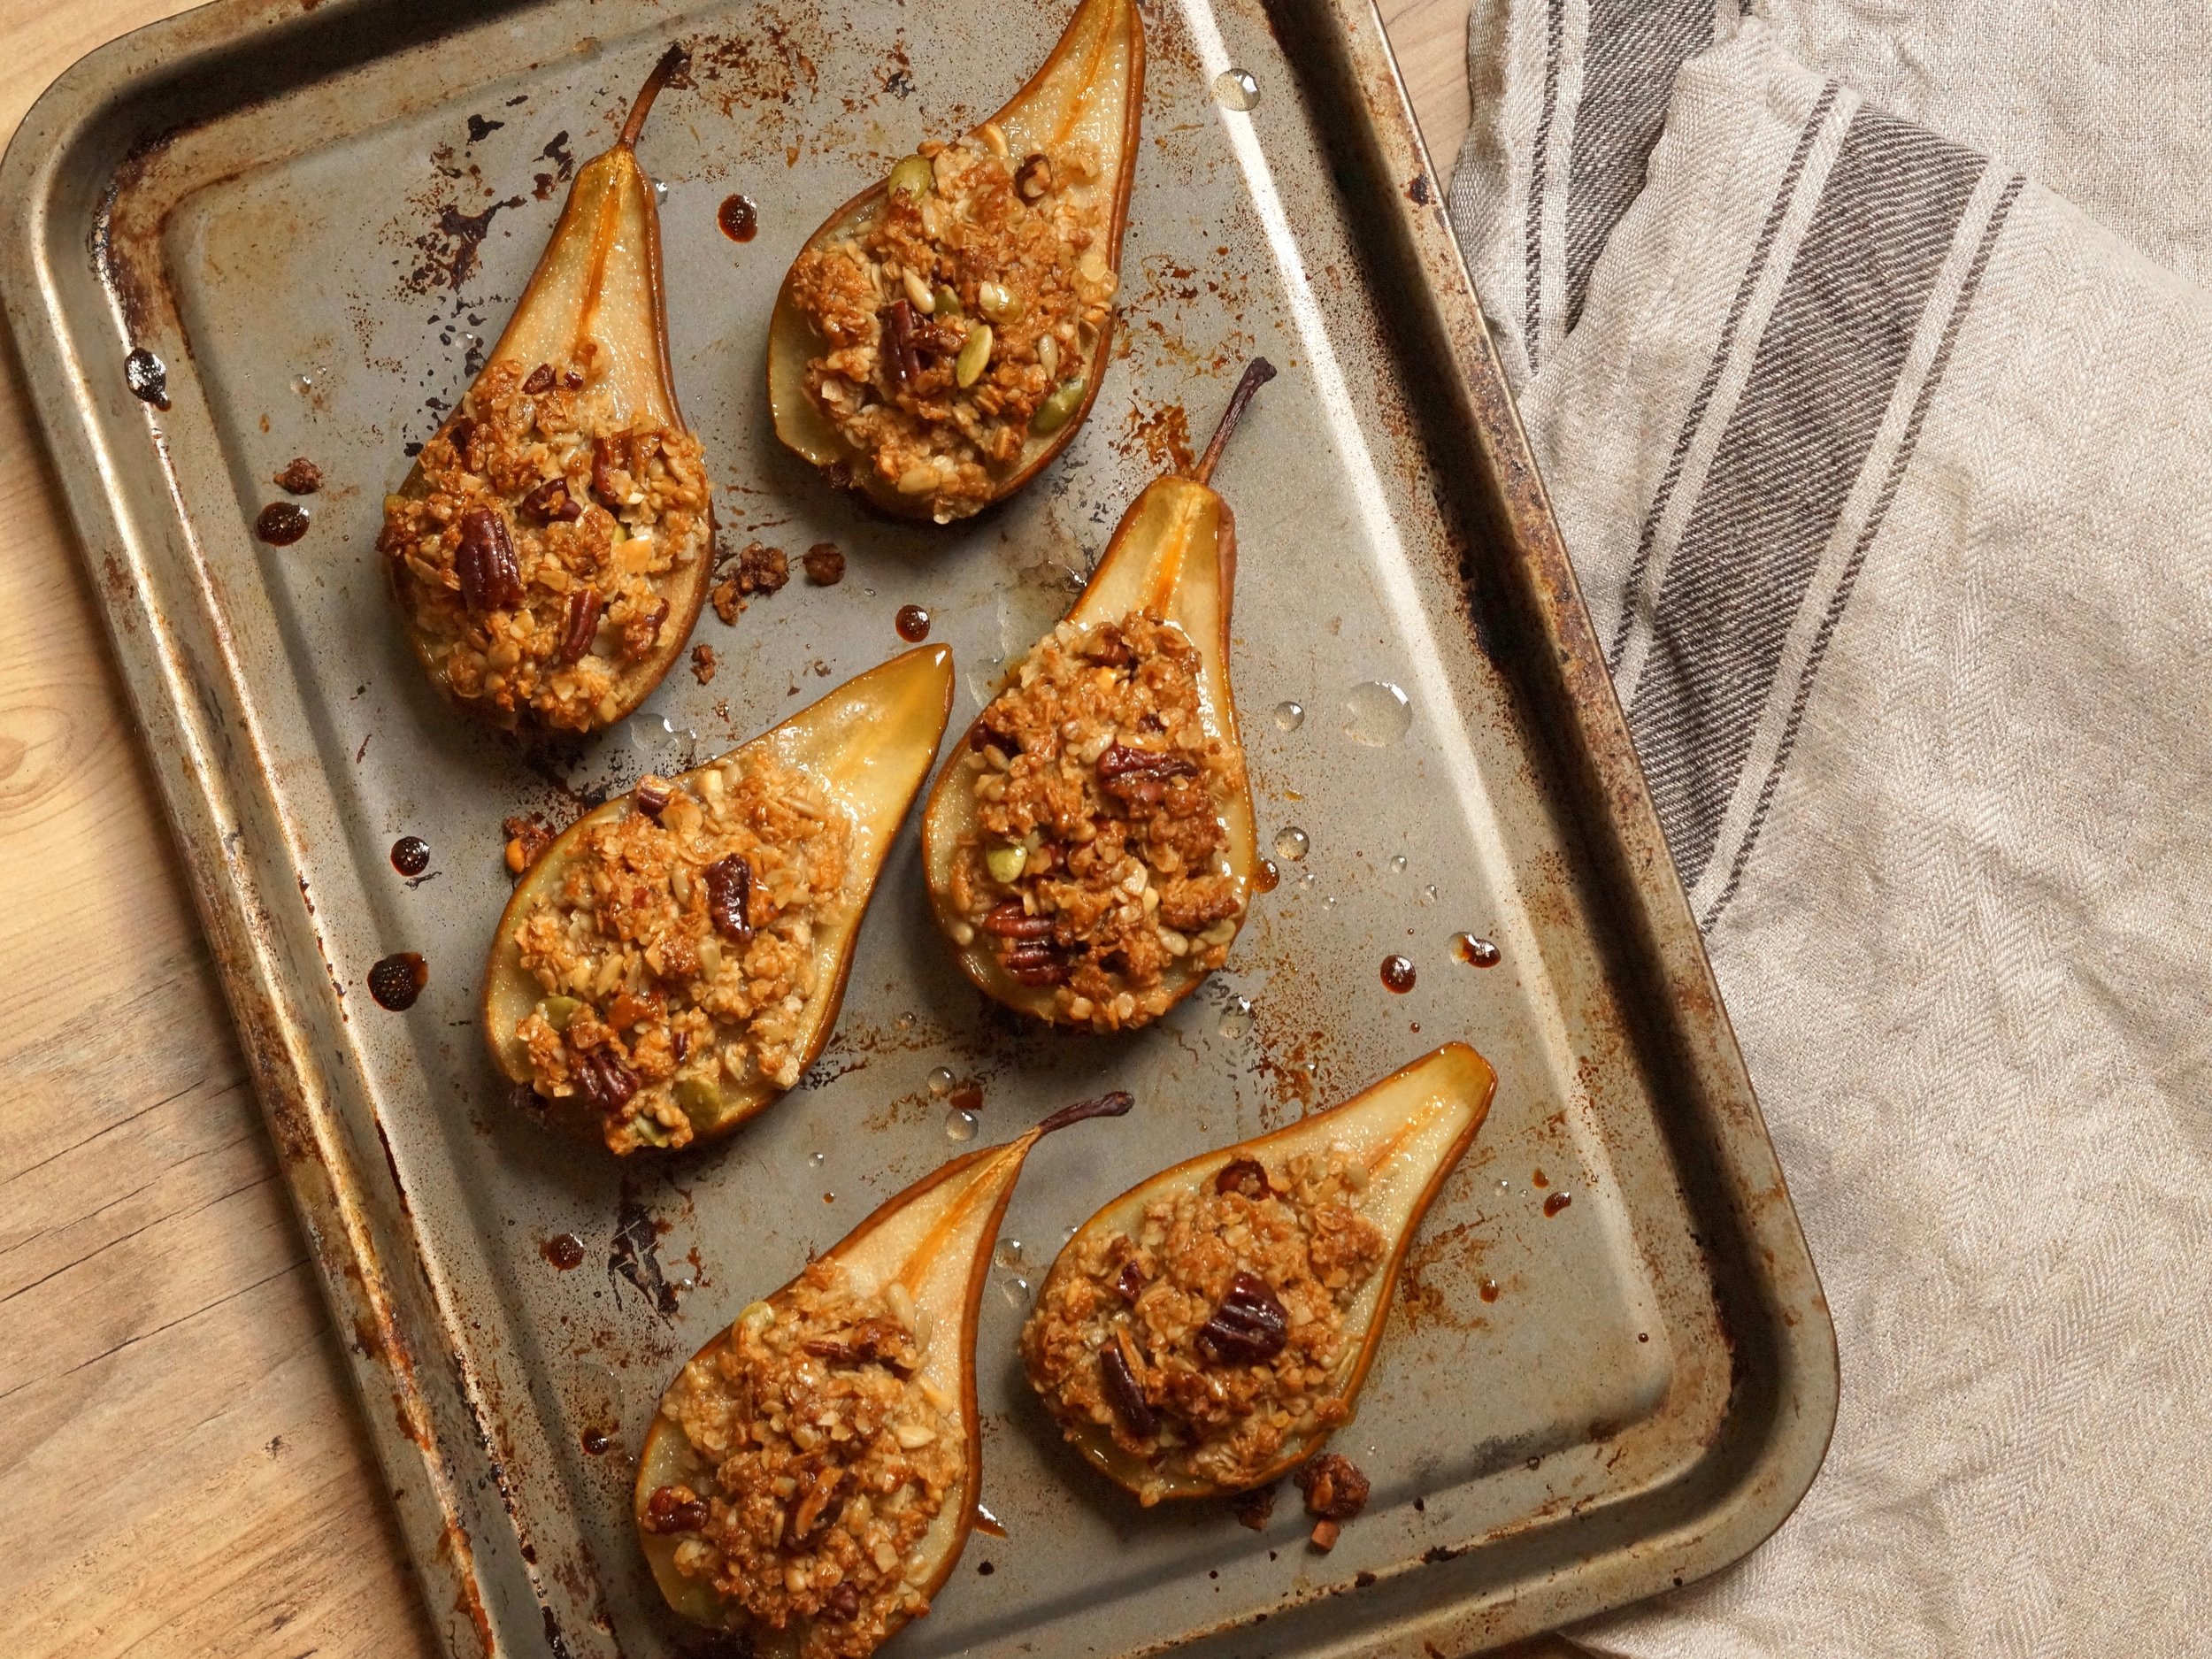
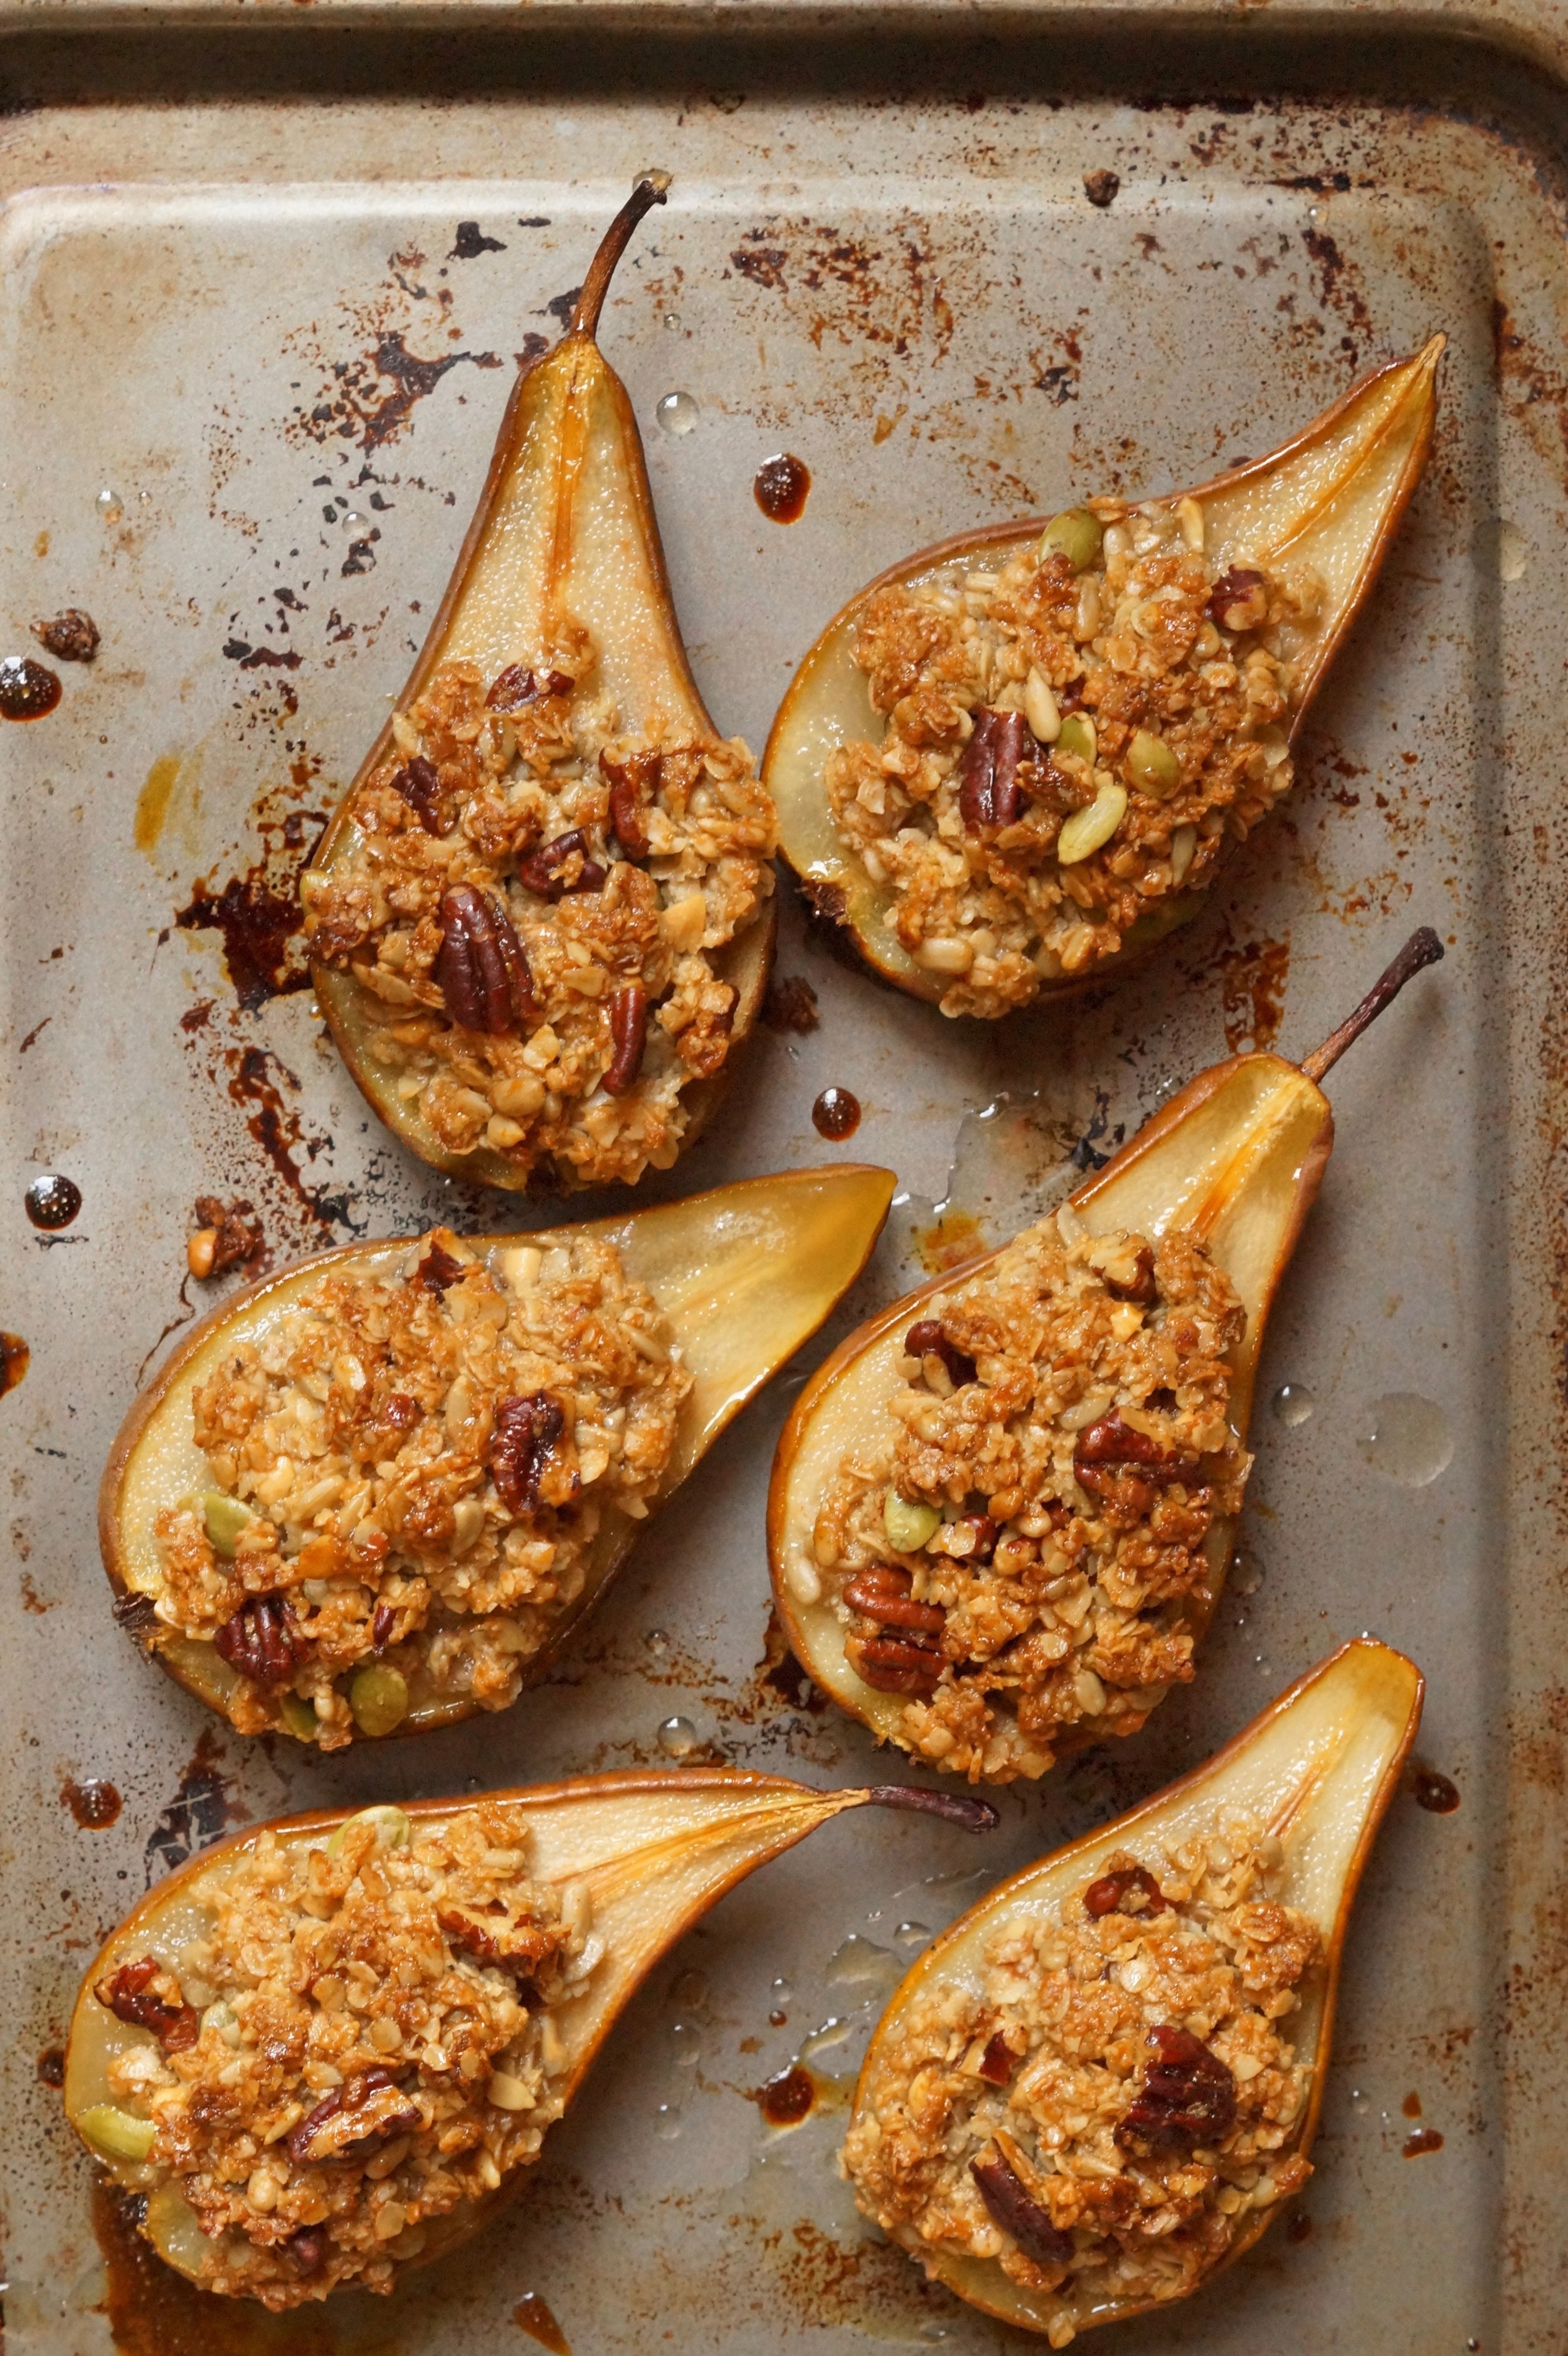
These Granola and maple stuffed pears are quick and simple, refined sugar free, and also gluten free if you need them to be. I like to eat these for breakfast, served with a good dollop of yoghurt, but they would work well as a dessert too. 

You Will Need:

N.B. only half the granola is needed to make this, so you can either halve the quantities or alternatively, whilst the oven is on, make a full batch, bake off what's left over and store in a jar for when you need a snack.

Pre-heat oven to 175°C/160°Cfan/gas mark 3

Make the granola, but don't bake it just yet...

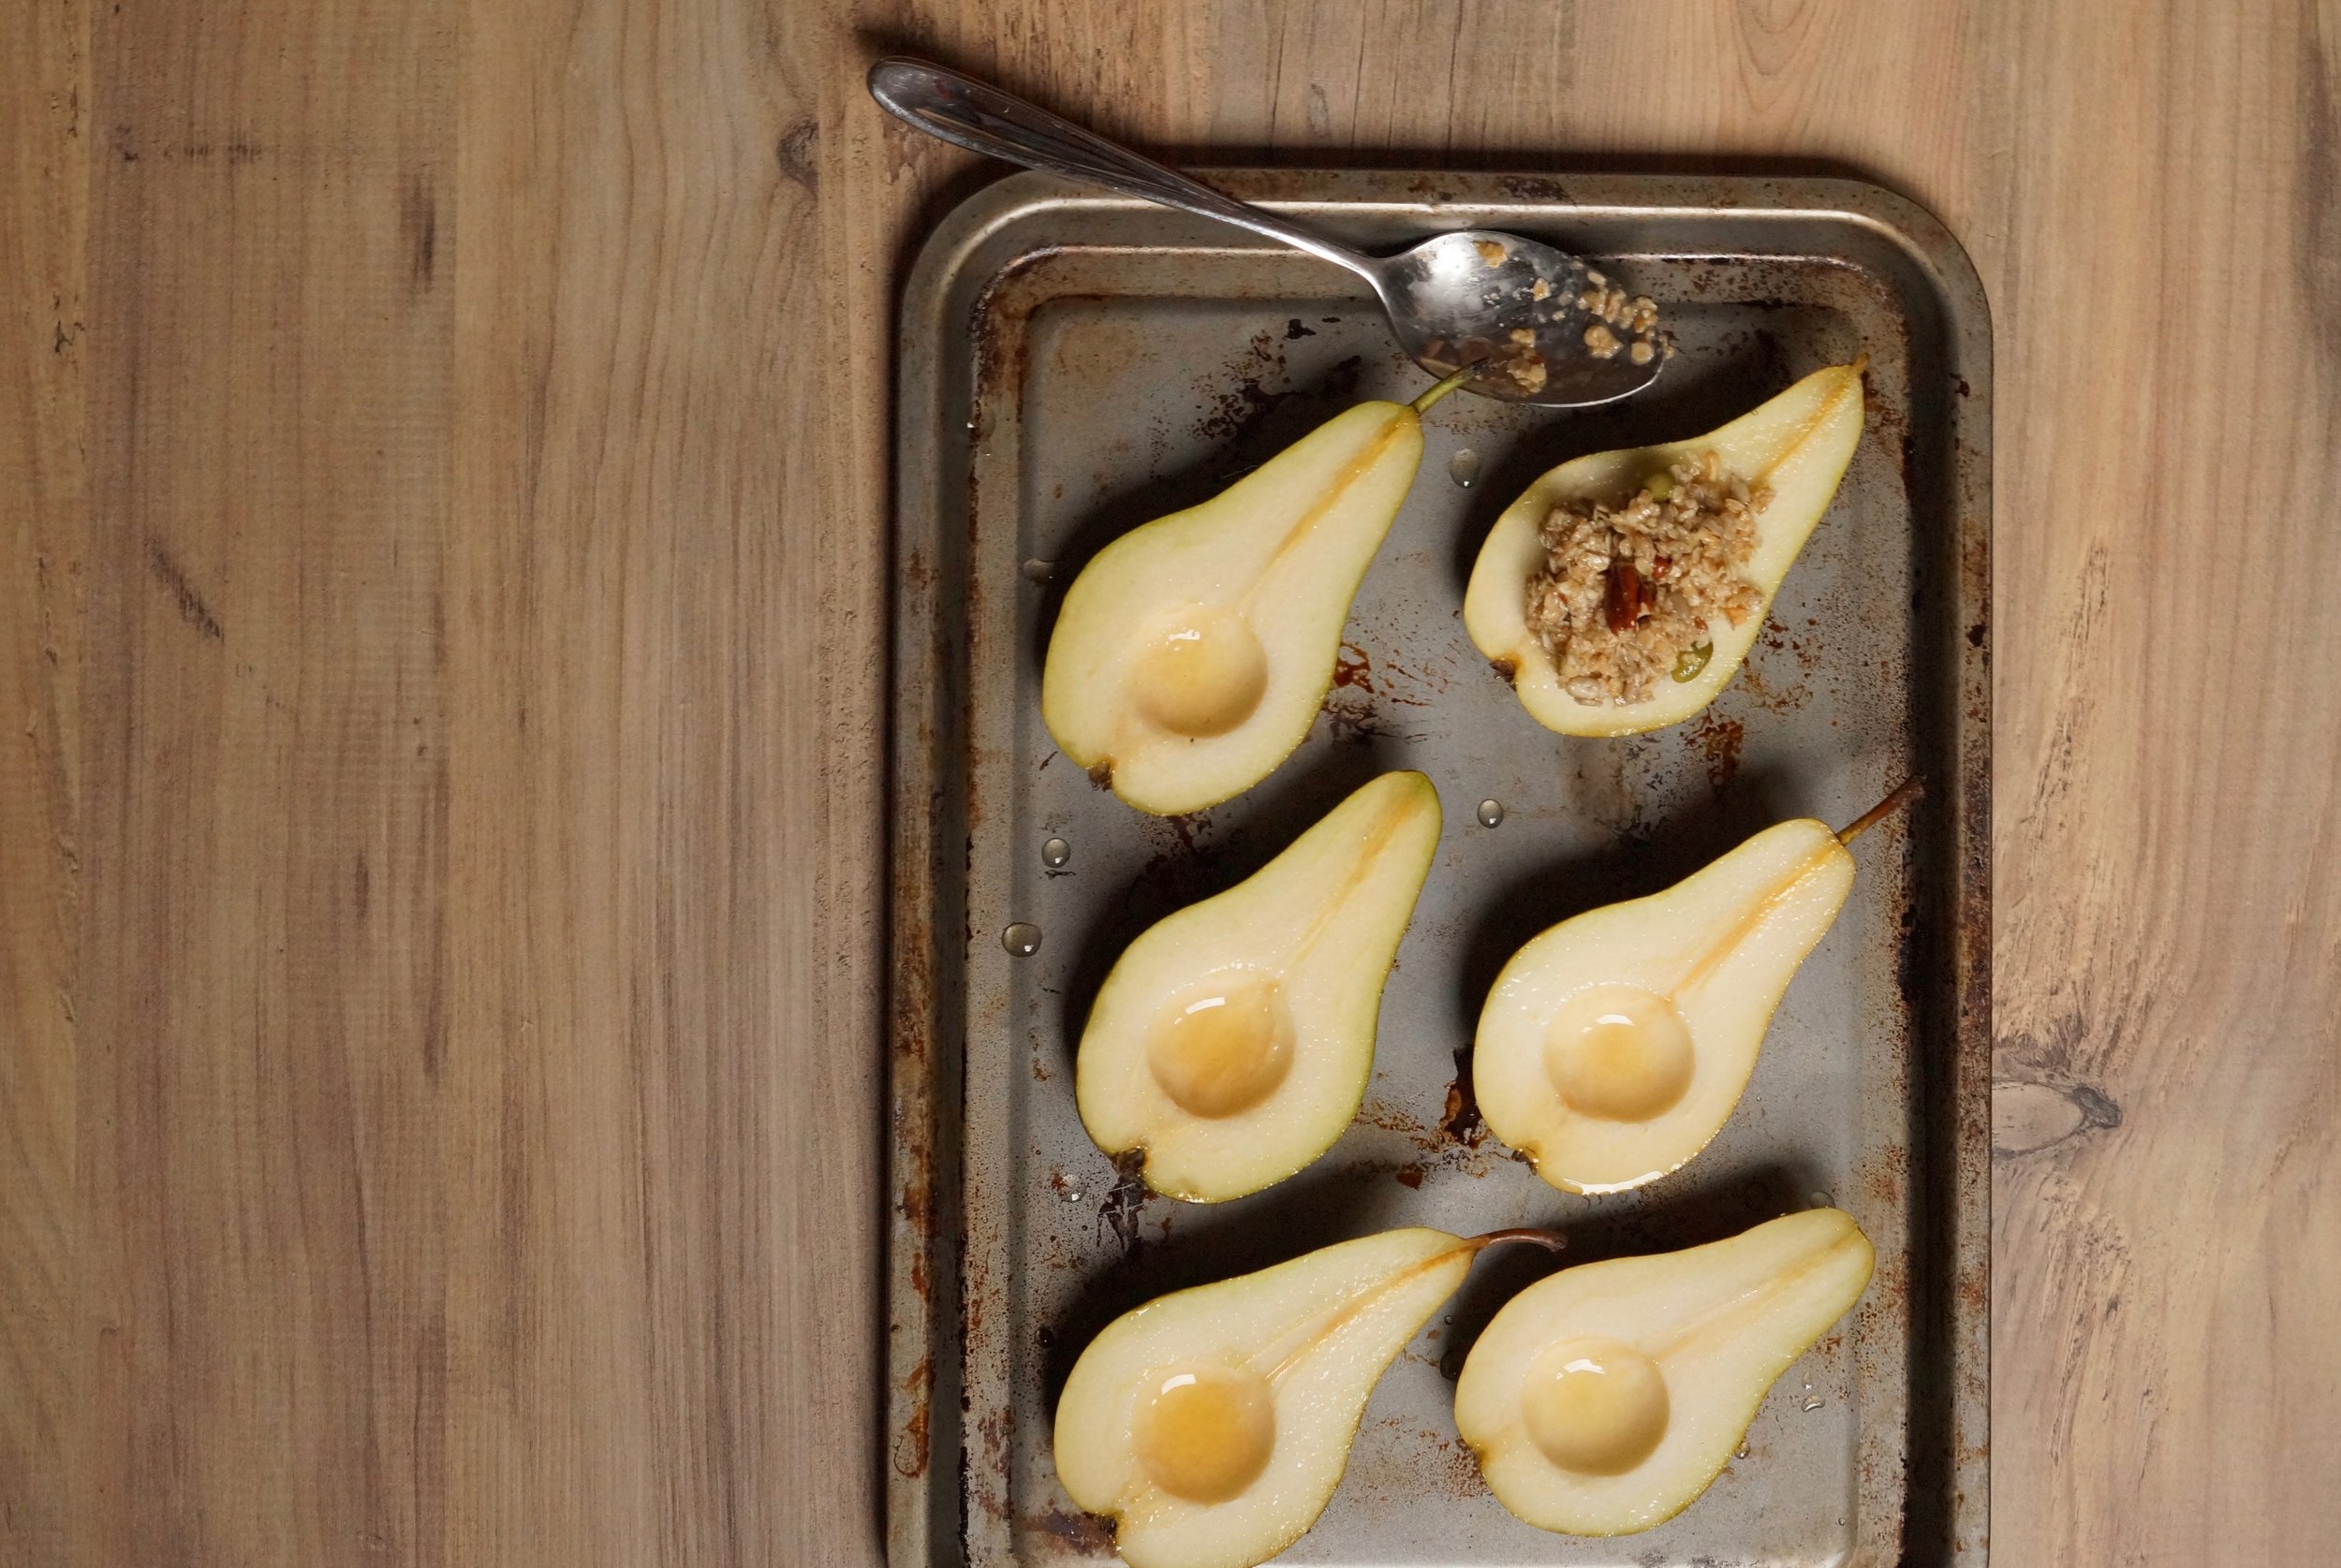
Cut the pears in half and scoop out the pips with a Parisienne scoop or teaspoon.

Place a large spoonful of the granola mix into the center of each pear.

In a small bowl mix together the lemon juice and maple syrup. Brush the syrup over the top of each pear.

Bake for 30 to 35 minutes until the pears have softened and the granola has turned golden brown.

Spoon any remaining syrup over the top of the pears and allow to cool a little, best eaten warm.

Serves 6 as breakfast, brunch or dessert.


0 Comments

Share

Create: Pressed flowers

0 Comments

Share

Create: Pressed flowers

Pressed flowers are a Simple cost effective project. They make beautiful affordable art for your home which can be changes as you wish to reflect the seasons. All that's really required is a little patience...

I gathered this bouquet in my Mum's garden a few weeks ago, Mum tells me she doesn't grow flowers but I have evidence to suggest otherwise. I've also collected further bouquets on Aylestone Meadows and along the canal path which is easily accessible instant green for a city dweller and a rather lovely way to spend a slice of the weekend, if i'm in need of escaping my kitchen!

You will need:

  • Freshly picked flowers, herbs and/or grasses
  • scissors
  • greaseproof paper
  • heavy hardback books, cookery books work particularly well here

Trim sheets of greaseproof paper to the size of your book, place the flowers onto a sheet of paper, allow plenty of space between the flowers, being careful not to overlap, else they'll stick together. Top with a further sheet of greaseproof paper and close the book.

Store in a bookshelf, preferably out of reach from marauding cats, Truffle destroyed a few stalks she found poking out of a book.

Leave the flowers for 10-14 days to dry completely. You'll see some variations on colour and texture from the drying process, this is part of their charm I think. 

Glass photo frames are available from Nkuku (Though i've actually borrowed the one on the right from Kayleigh Tarrant!) For Leicester locals Harriman and Co have a selection also.

As always, we'd love to hear from you if you have any tips and tricks for pressed flowers or affordable artwork, give us a shout in the comments!


0 Comments

Share

Recipe: Homemade Nut Butter

10 Comments

Share

Recipe: Homemade Nut Butter

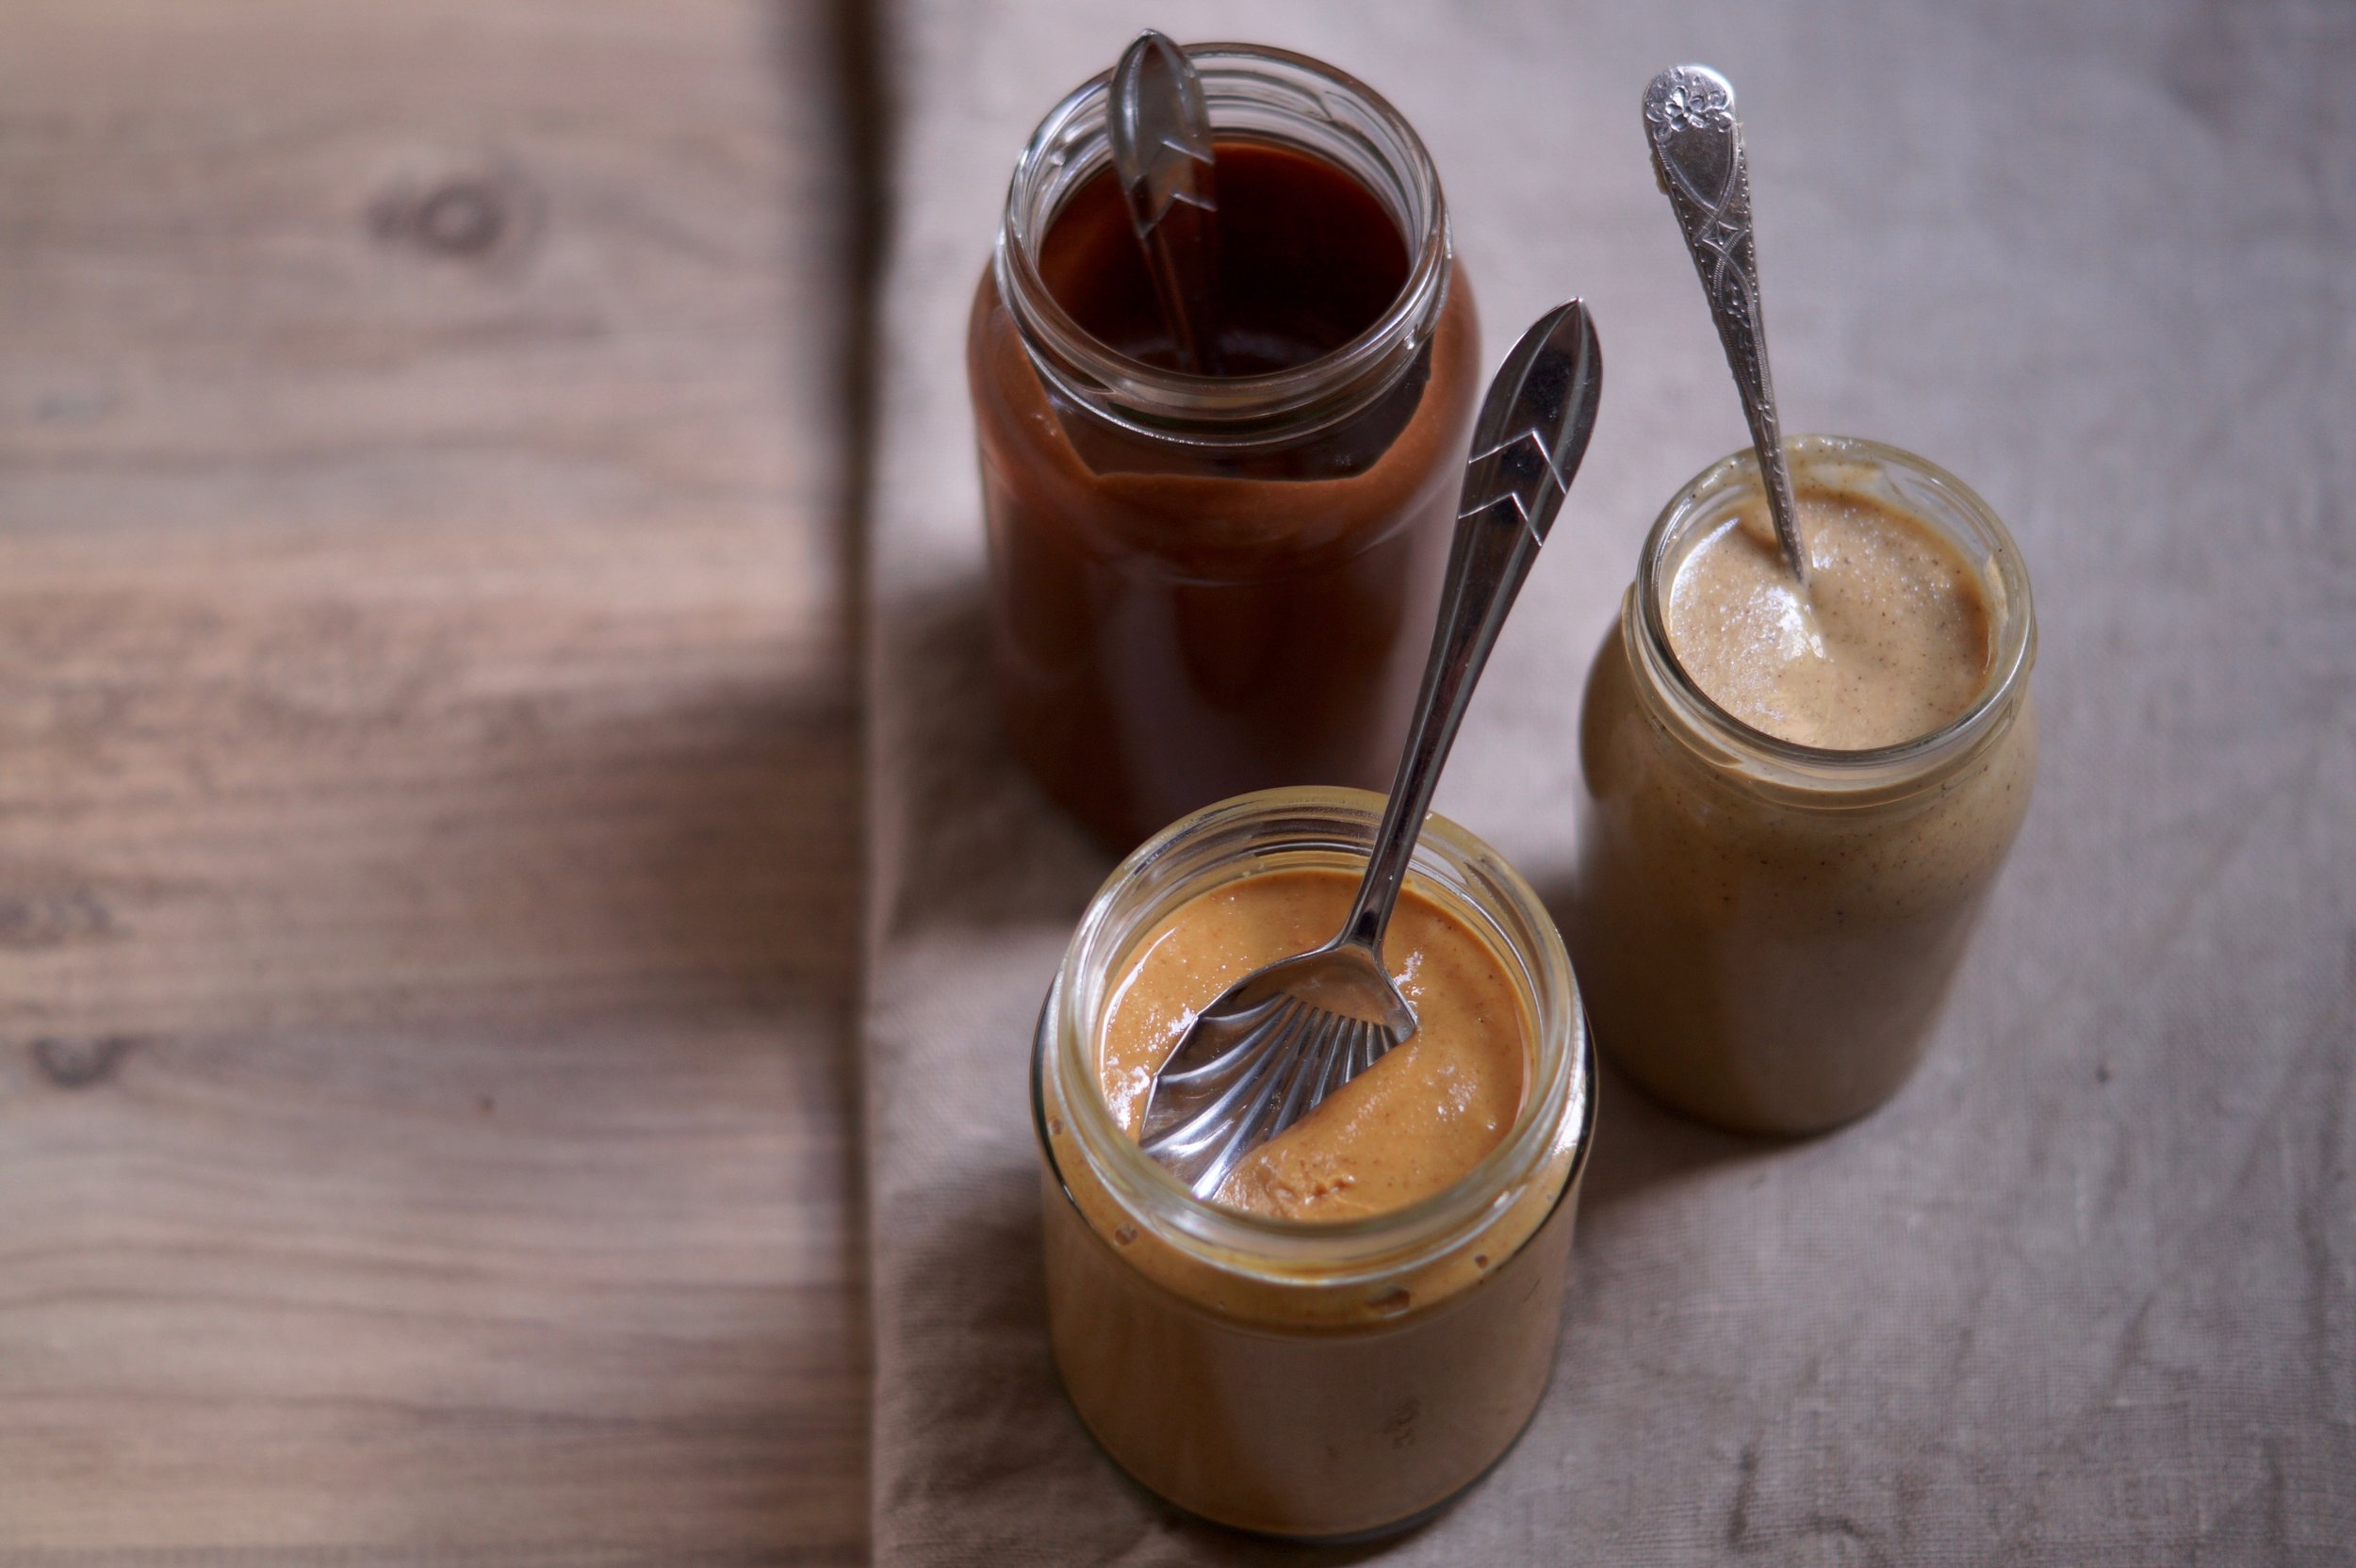
I know I'm late to the party here, but in recent months nut butters have become something of a staple in our house. Not only do they make a good quick snack with an apple they are great for adding to satay sauces and soups, liberally spreading on toast for breakfast and I also use them extensively in my baking.

I know that there are some amazing brands of nut butters available (and some less so, I'm looking at you Nutella!) So why bother to make your own I hear you ask?

Well, nut butters are in fact incredibly easy and quick to make in the comfort of your own home, provided you have a food processor or equivalent bit of kit, there are just one or two ingredients in the recipe and you can use any nut or seed and create any flavour you like. It would be rude not to list the virtuous qualities qualities of homemade nut butters also... vegan, gluten free and filled with healthy natural oils, proteins and nutrients.

Here follows a few of my basic recipes which are still in progress. I have many more ideas I'd like to try out, but wanted to bookmark the bare bones recipe for future reference.

For those on a budget, I recommend buying nuts from Lidl as they provide the best quality and value for money. If you're Leicester based you can also try The International Supermarket. When sourcing your nuts look for blanched ones rather than skin on nuts - taking the skins of isn't impossible, it's just a real bore!

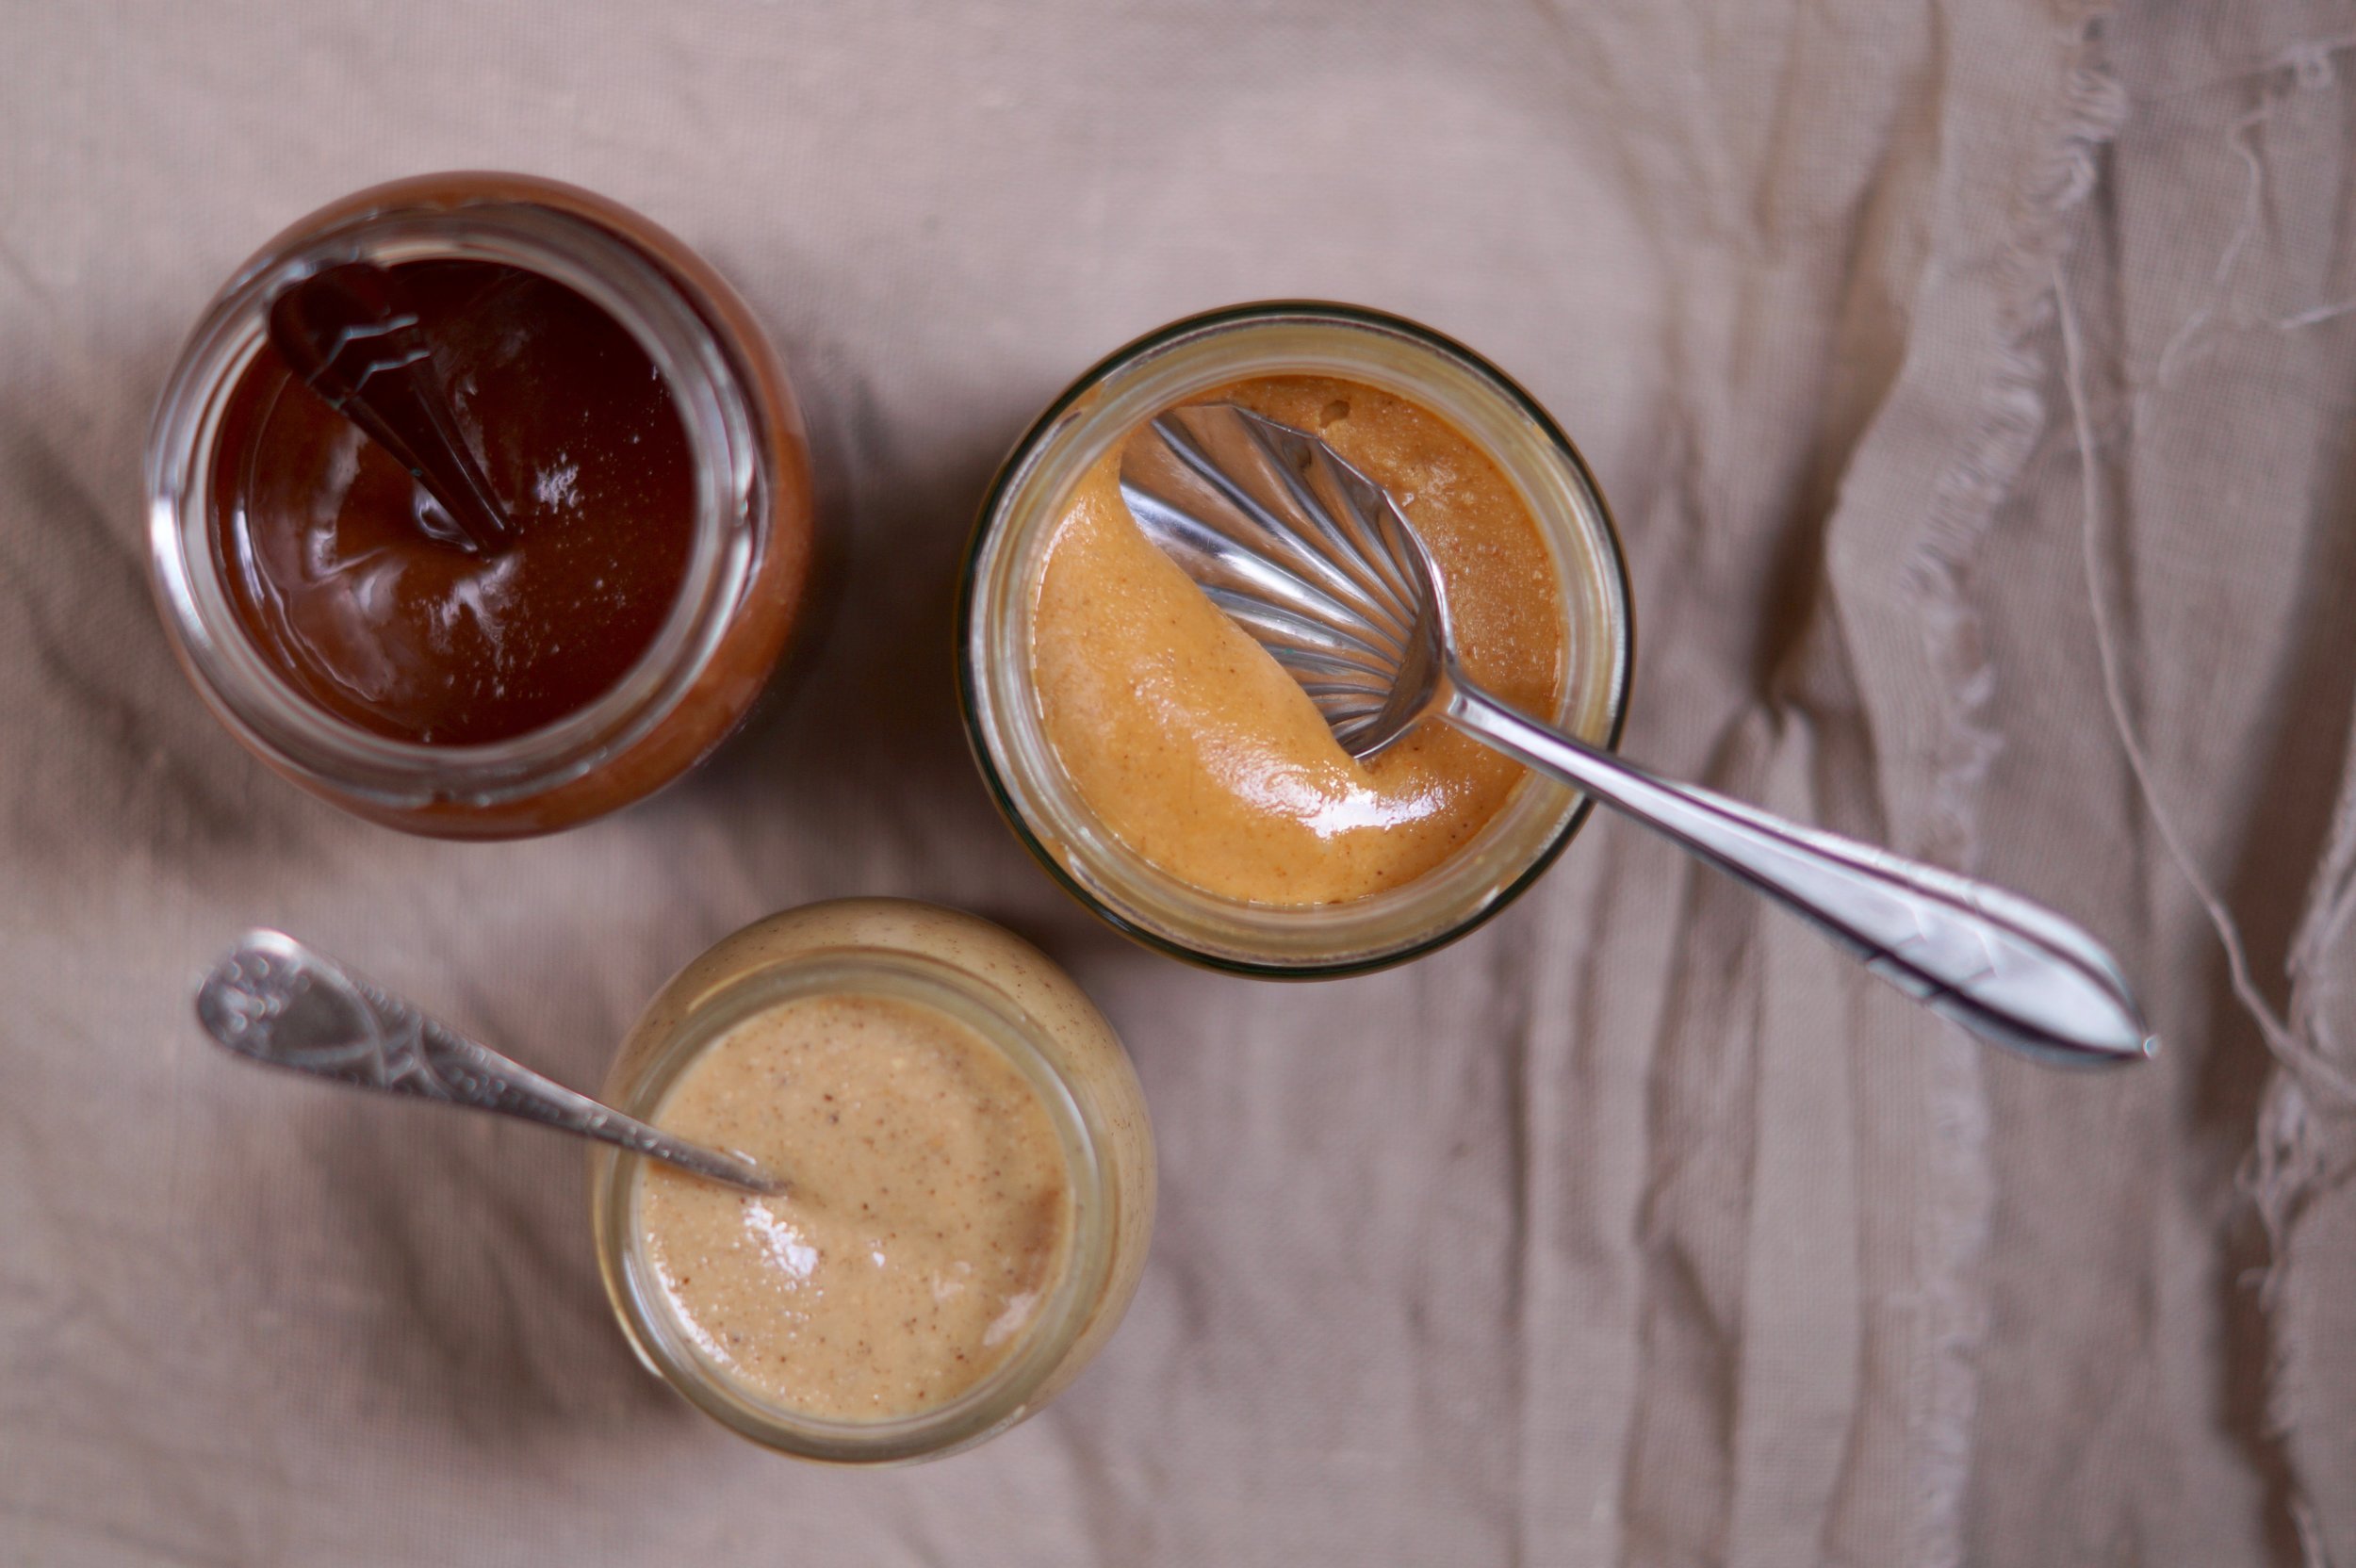
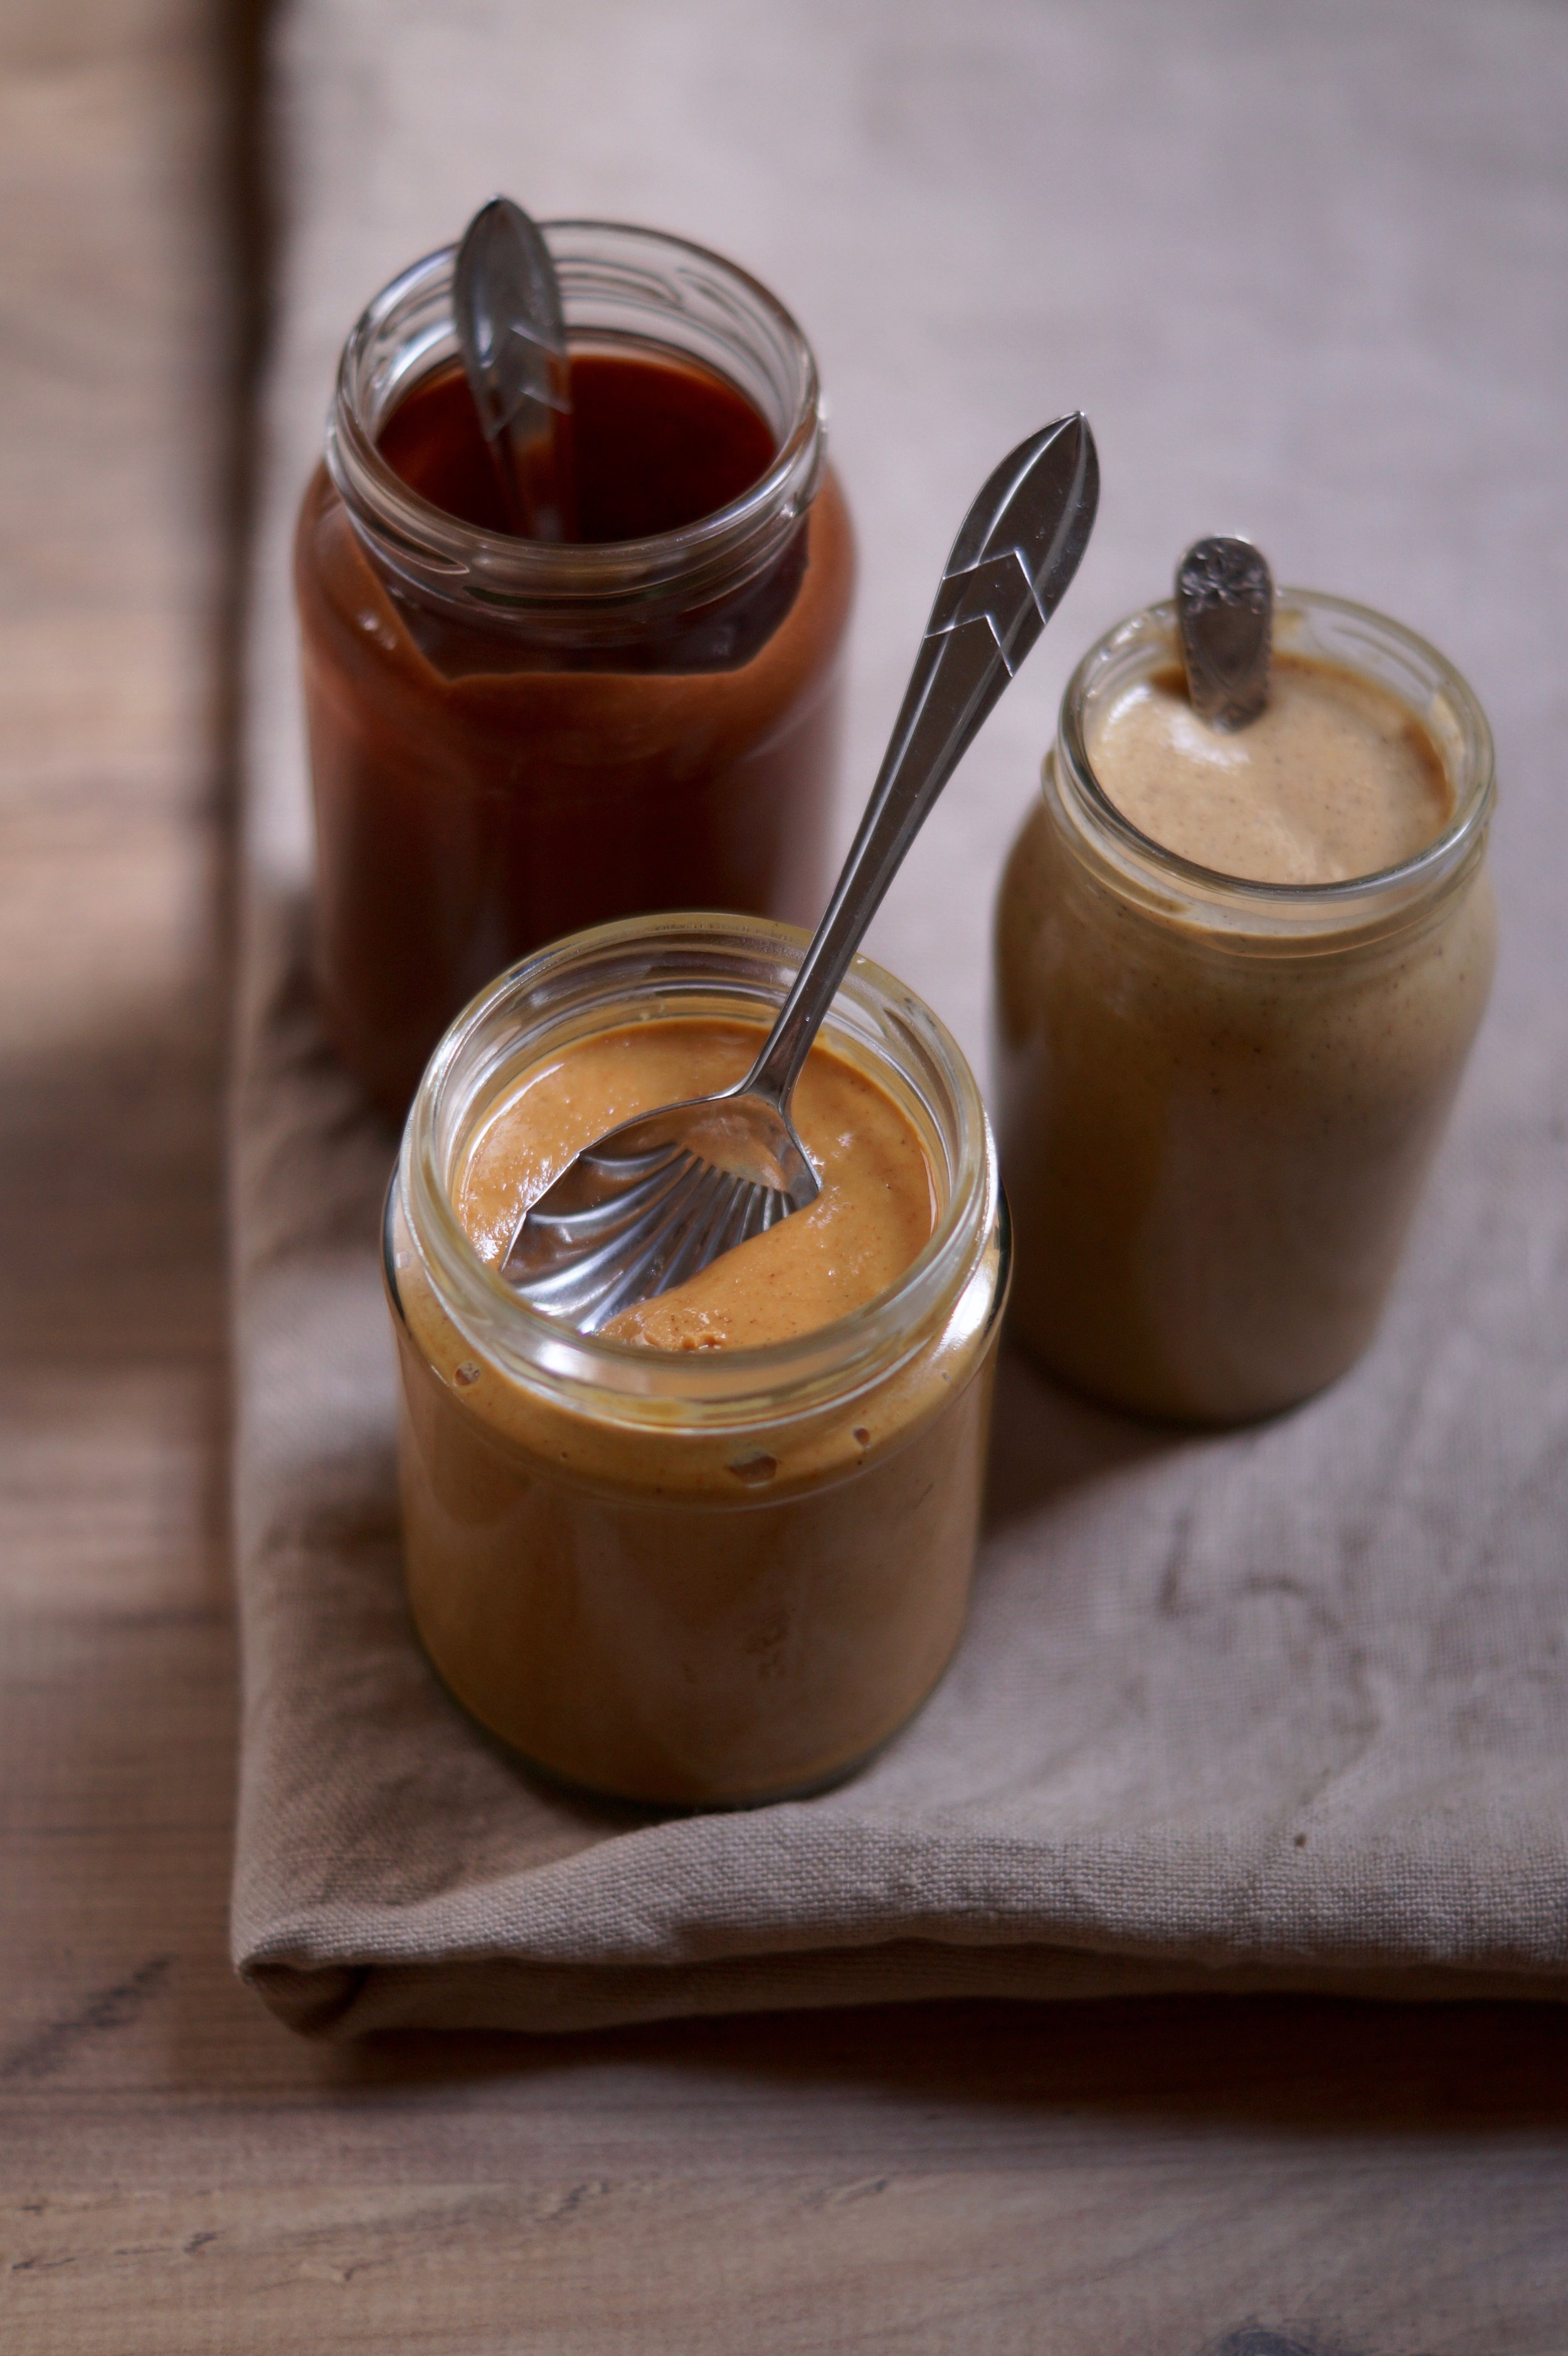
Each recipe will make one jar of nut butter.

basic nut butter

Ingredients...

  • 300g nuts- blanched hazelnuts, almonds, cashew, brazil... any nuts will work
  • a good pinch of salt

Method...

Preheat your oven to 180°C/160°C/Gas mark 4.

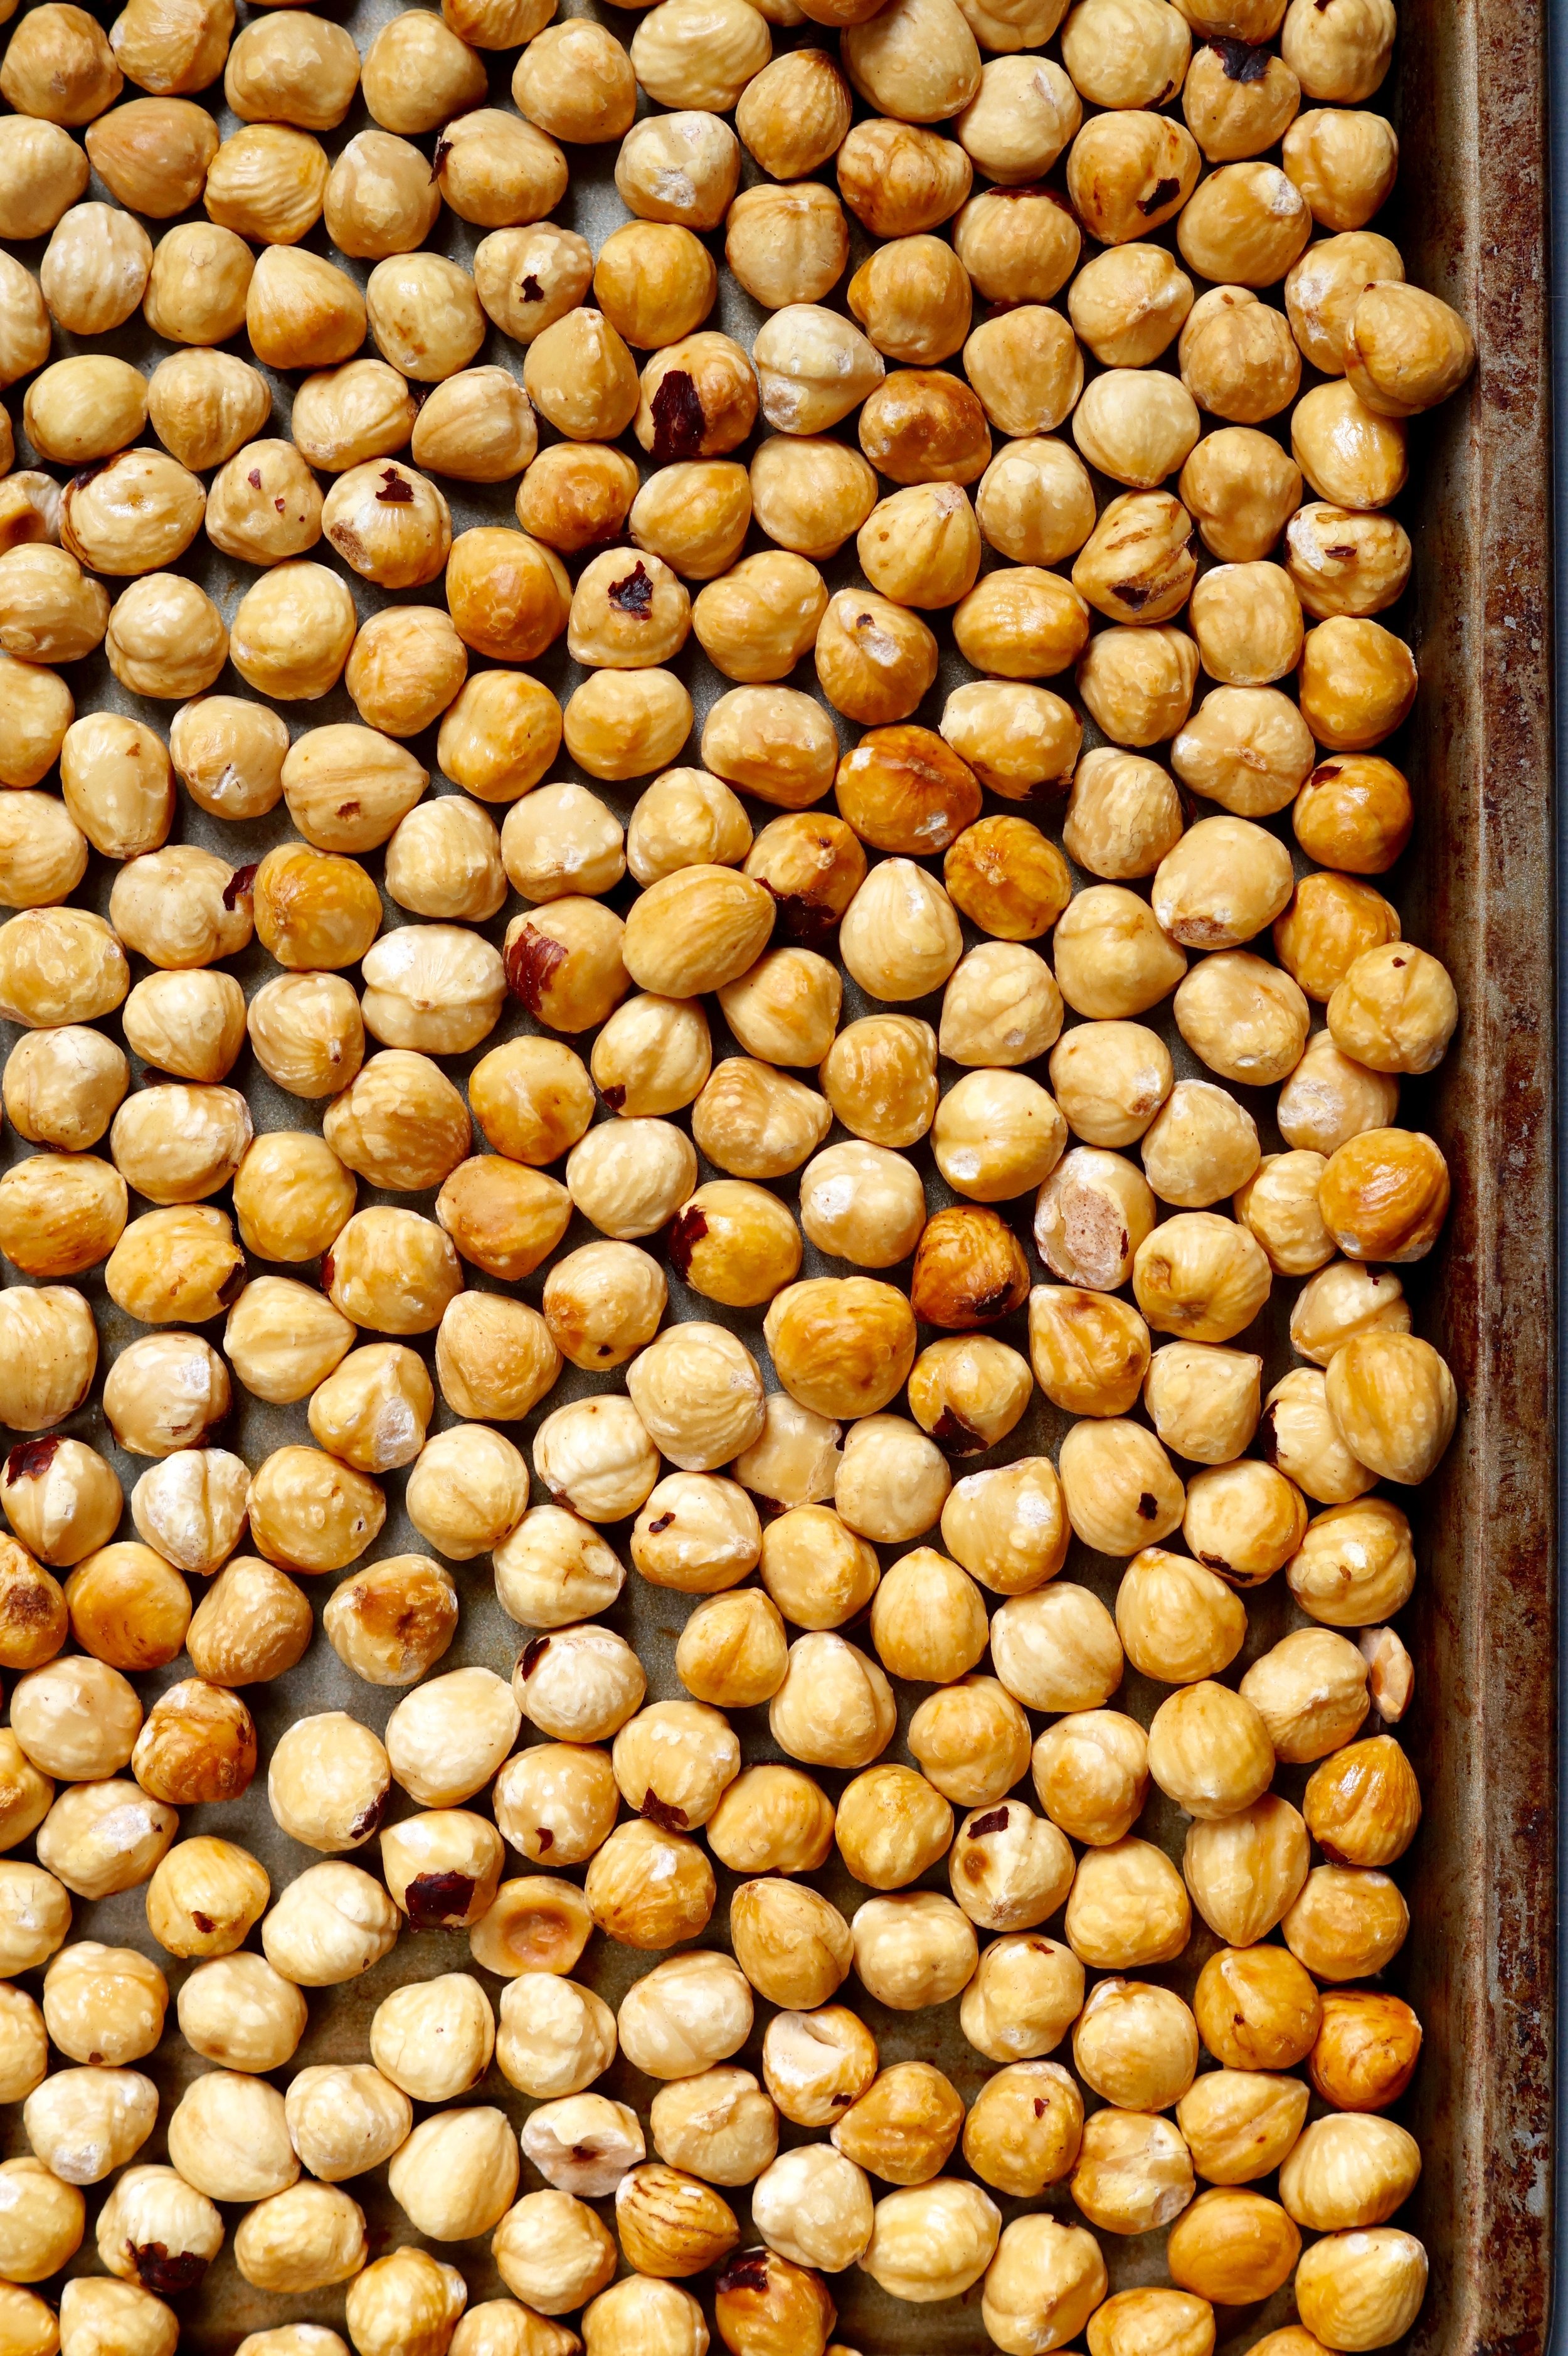
Line a baking tray with parchment paper and spread over the nuts in a single layer. Roast the nuts for 10 to 15 minutes, until golden brown. Remove from the oven and allow to cool.

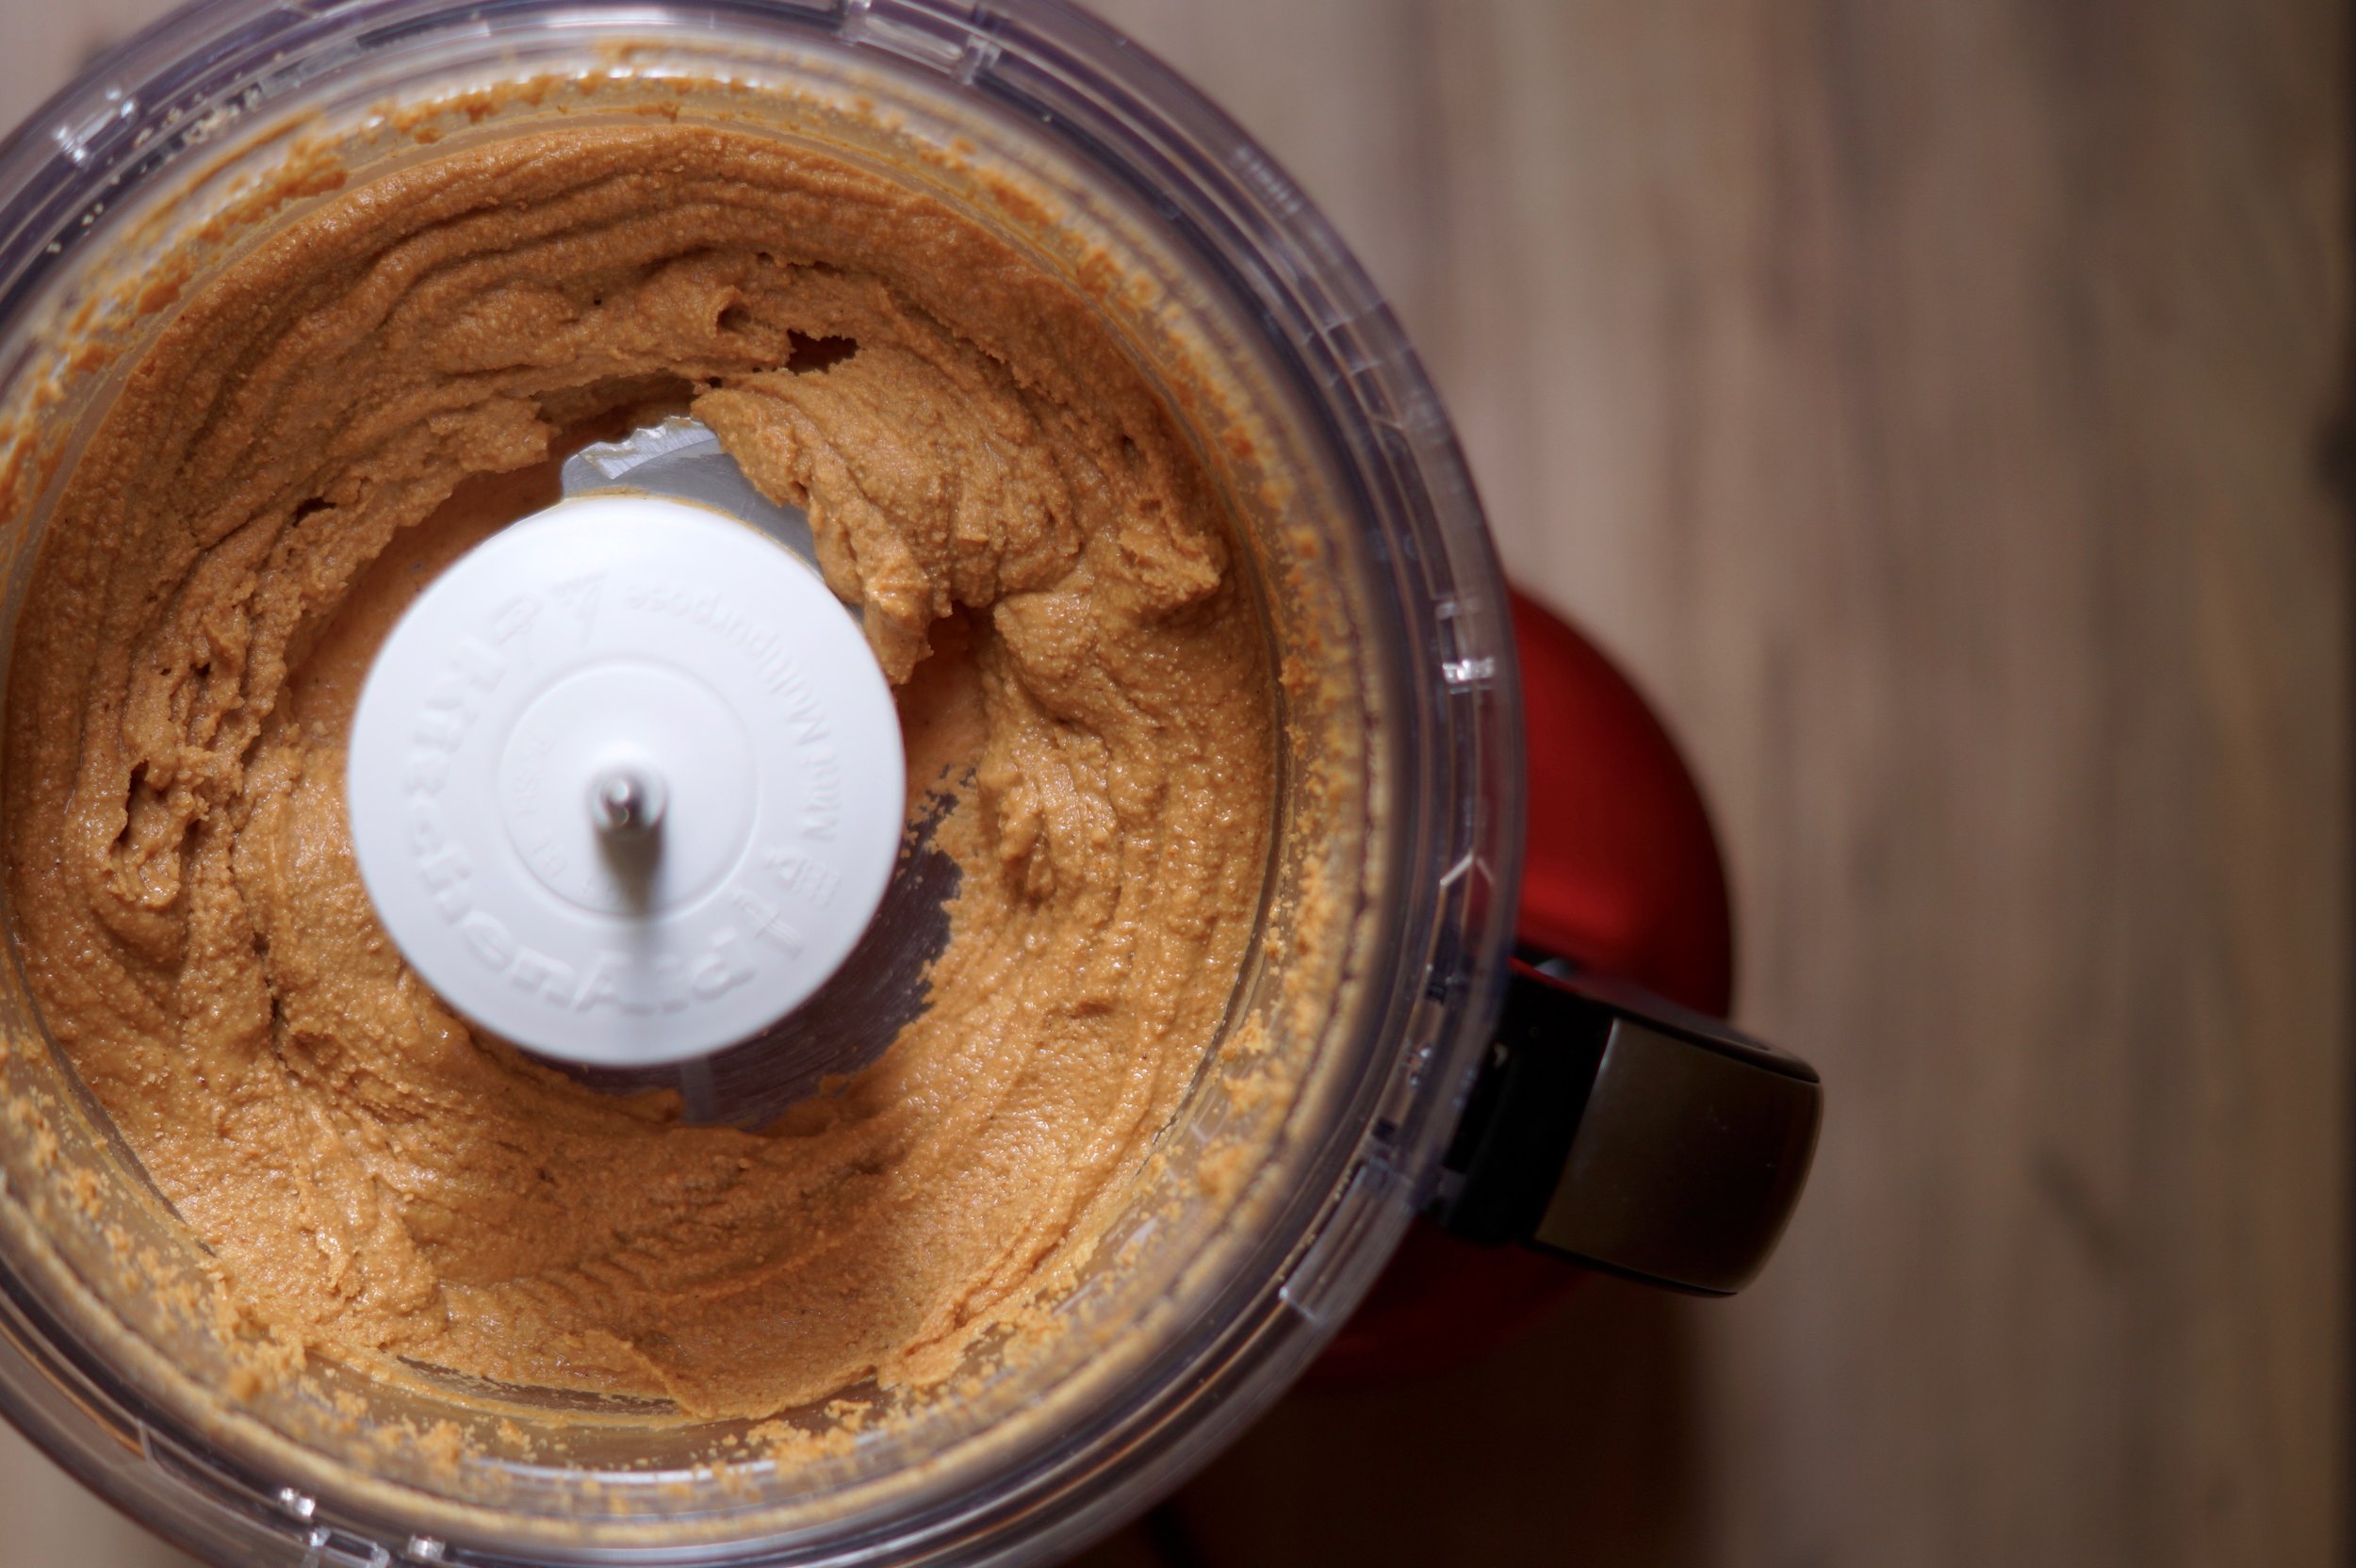
Place the Nuts into the bowl of a food processor, along with a good pinch of salt. Blitz the nuts until they form crumbs, scrape down the sides of the bowl and blitz again until the nuts have completely broken down to form a smooth creamy paste. This can take around 5 minutes, depending on the power of your food processor.

Transfer the Nut Butter to a clean, sterilised jam jar and store for up to two weeks.

peanut butter

Ingredients...

  • 300g  dry roasted peanuts

Method...

1 ingredient, that's it! No need to roast these nuts either as that's already been done for you. Just blitz them down following the above method ↑

homemade "Nutella"

Ingredients...

  • 150g blanched hazelnuts 
  • 100g dark chocolate
  • A good pinch of salt

Method...

Preheat your oven to 180°C/160°C/Gas mark 4.

Line a baking tray with parchment paper and spread over the nuts in a single layer. Roast the nuts for 10 to 15 minutes, until golden brown. Remove from the oven and allow to cool.

Meanwhile, break the chocolate into pieces and place over a pan of simmering water to melt.

Place the nuts into the bowl of a food processor, along with a good pinch of salt. Blitz the nuts until they form crumbs, scrape down the sides of the bowl and blitz again until the nuts have completely broken down to form a smooth creamy paste. Add in the melted chocolate and blitz for a further 30 seconds until well combined.

Transfer the nut butter to a clean, sterilised jam jar and store for up to two weeks.

MORE IDEAS & tips

More ideas to try...

  • There's huge scope for creativity here, use a mixture of nuts to create different flavours
  • Try adding almonds or peanuts to your 'Nutella'
  • For a sweeter butter add a little maple syrup or honey in the final stages of blitzing
  • Vanilla is a lovely addition to 'Nutella' also
  • For a nut free option try using seeds, sunflower, pumpkin, sesame, or a mixture of all three
  • For a savoury butter try adding spices and dry herbs. One idea I'm dying to try is dukkah butter!!

A few further thoughts...

  • Much depends on the power of your food processor, I've just acquired a new one (hence the nut butter excitement!) It's so powerful I don't even need to melt the chocolate for my "Nutella", I just whack it straight in and the mixer breaks it down. However my previous bit of kit could barely make breadcrumbs, let alone nut butter! So for cautionary reason's I've included the melting-the-chocolate step in the recipe above. With a less powerful mixer you can expect a crunchier butter, which is all the better in my book!
  • Different nuts create different results, for example peanuts and almonds deliver a more viscose butter than brazil nuts, which have a higher natural oil content. Equally, adding a sweetener such as honey or maple syrup will thicken a nut butter.
  • As always, do give us a shout if you try this recipe or if you have any brilliant ideas for nut butter flavours!

10 Comments

Share

A Beginners Guide to... Canteen

1 Comment

Share

A Beginners Guide to... Canteen

Street food in Leicester would usually conjure up ideas of a heavy nights drinking followed by a kebab of uncertain origin that would almost certainly be lived to regret the next day. However, around a year ago I began to hear whispers of rather fabulous event held in Birmingham called Digbeth Dining Club, the idea of street food for foodies really appealed to me and I vowed to visit but then never had the inclination/was too lazy/too busy to travel all the way to Birmingham on a Friday Night. Enter CANTEEN, bringing the street food trend to Leicester, offering a whole host of creative and innovative local street food vendors and proving once again that Leicester is definitely not shit!

Last Friday night was C and I's second visit. So being as we are now aficionados I thought i'd share a few tips on what to expect...

  • Arrive early, CANTEEN gets busy, with around 800 people turning out to the last few events its a good idea to get there early so you can take your time, browse a little and be sure to get a plate or two of food before the traders sell out. The doors open at 5pm till around 10. there's live music, DJ and a few bars so its well worth making a night of it.
  • Take cash, and plenty of loose change. None of the traders take cards and having the correct change speeds up the process considerably.
  • Work the room, or courtyard, have a good stroll round first to decide what you want, then go for it!
  • It's worth sampling a few dishes too. The variety of Traders, from burgers to waffles via greek platters and halloumi fries, means there's something for everyone.
  • Expect to bump into everyone you know, seriously! It's so rare for me to bump into anyone I know these days in Leicester so it was a lovely surprise to catch up with some old faces, and meet a few new friends too!
  • Be prepared to que, this is part of the fun, grab yourself a drink and get in line, you'll be able to watch your food being cooked to order at some of the stands too! A few more traders were added to the bill for last nights event which meant the ques were a little shorter and the traders a little less under pressure. 
  • Beware of que jumpers- do not tolerate this behaviour, its just rude.
  • If in doubt- divide and conquer. C and I joined separate ques, I was in charge of obtaining the burgers, whilst C was on a bao & Kimchi mission. We then reconviened to share our spoils.
  • Eating is mostly done standing up, unless you really do get there early enough to bag yourself a seat.
  • Be kind to the traders, these guys work so incredibly hard and get absolutely hammered so be patient and courteous, obvs!

LCB depot hosts the event every last Friday of the month, so the next event will be 26th May, get it in your diary and we'll see you there! For more info and updates on who will be trading you can follow the CANTEEN facebook page here.


1 Comment

Share

Recipe: Blood Orange & Rosemary Mocktail

0 Comments

Share

Recipe: Blood Orange & Rosemary Mocktail

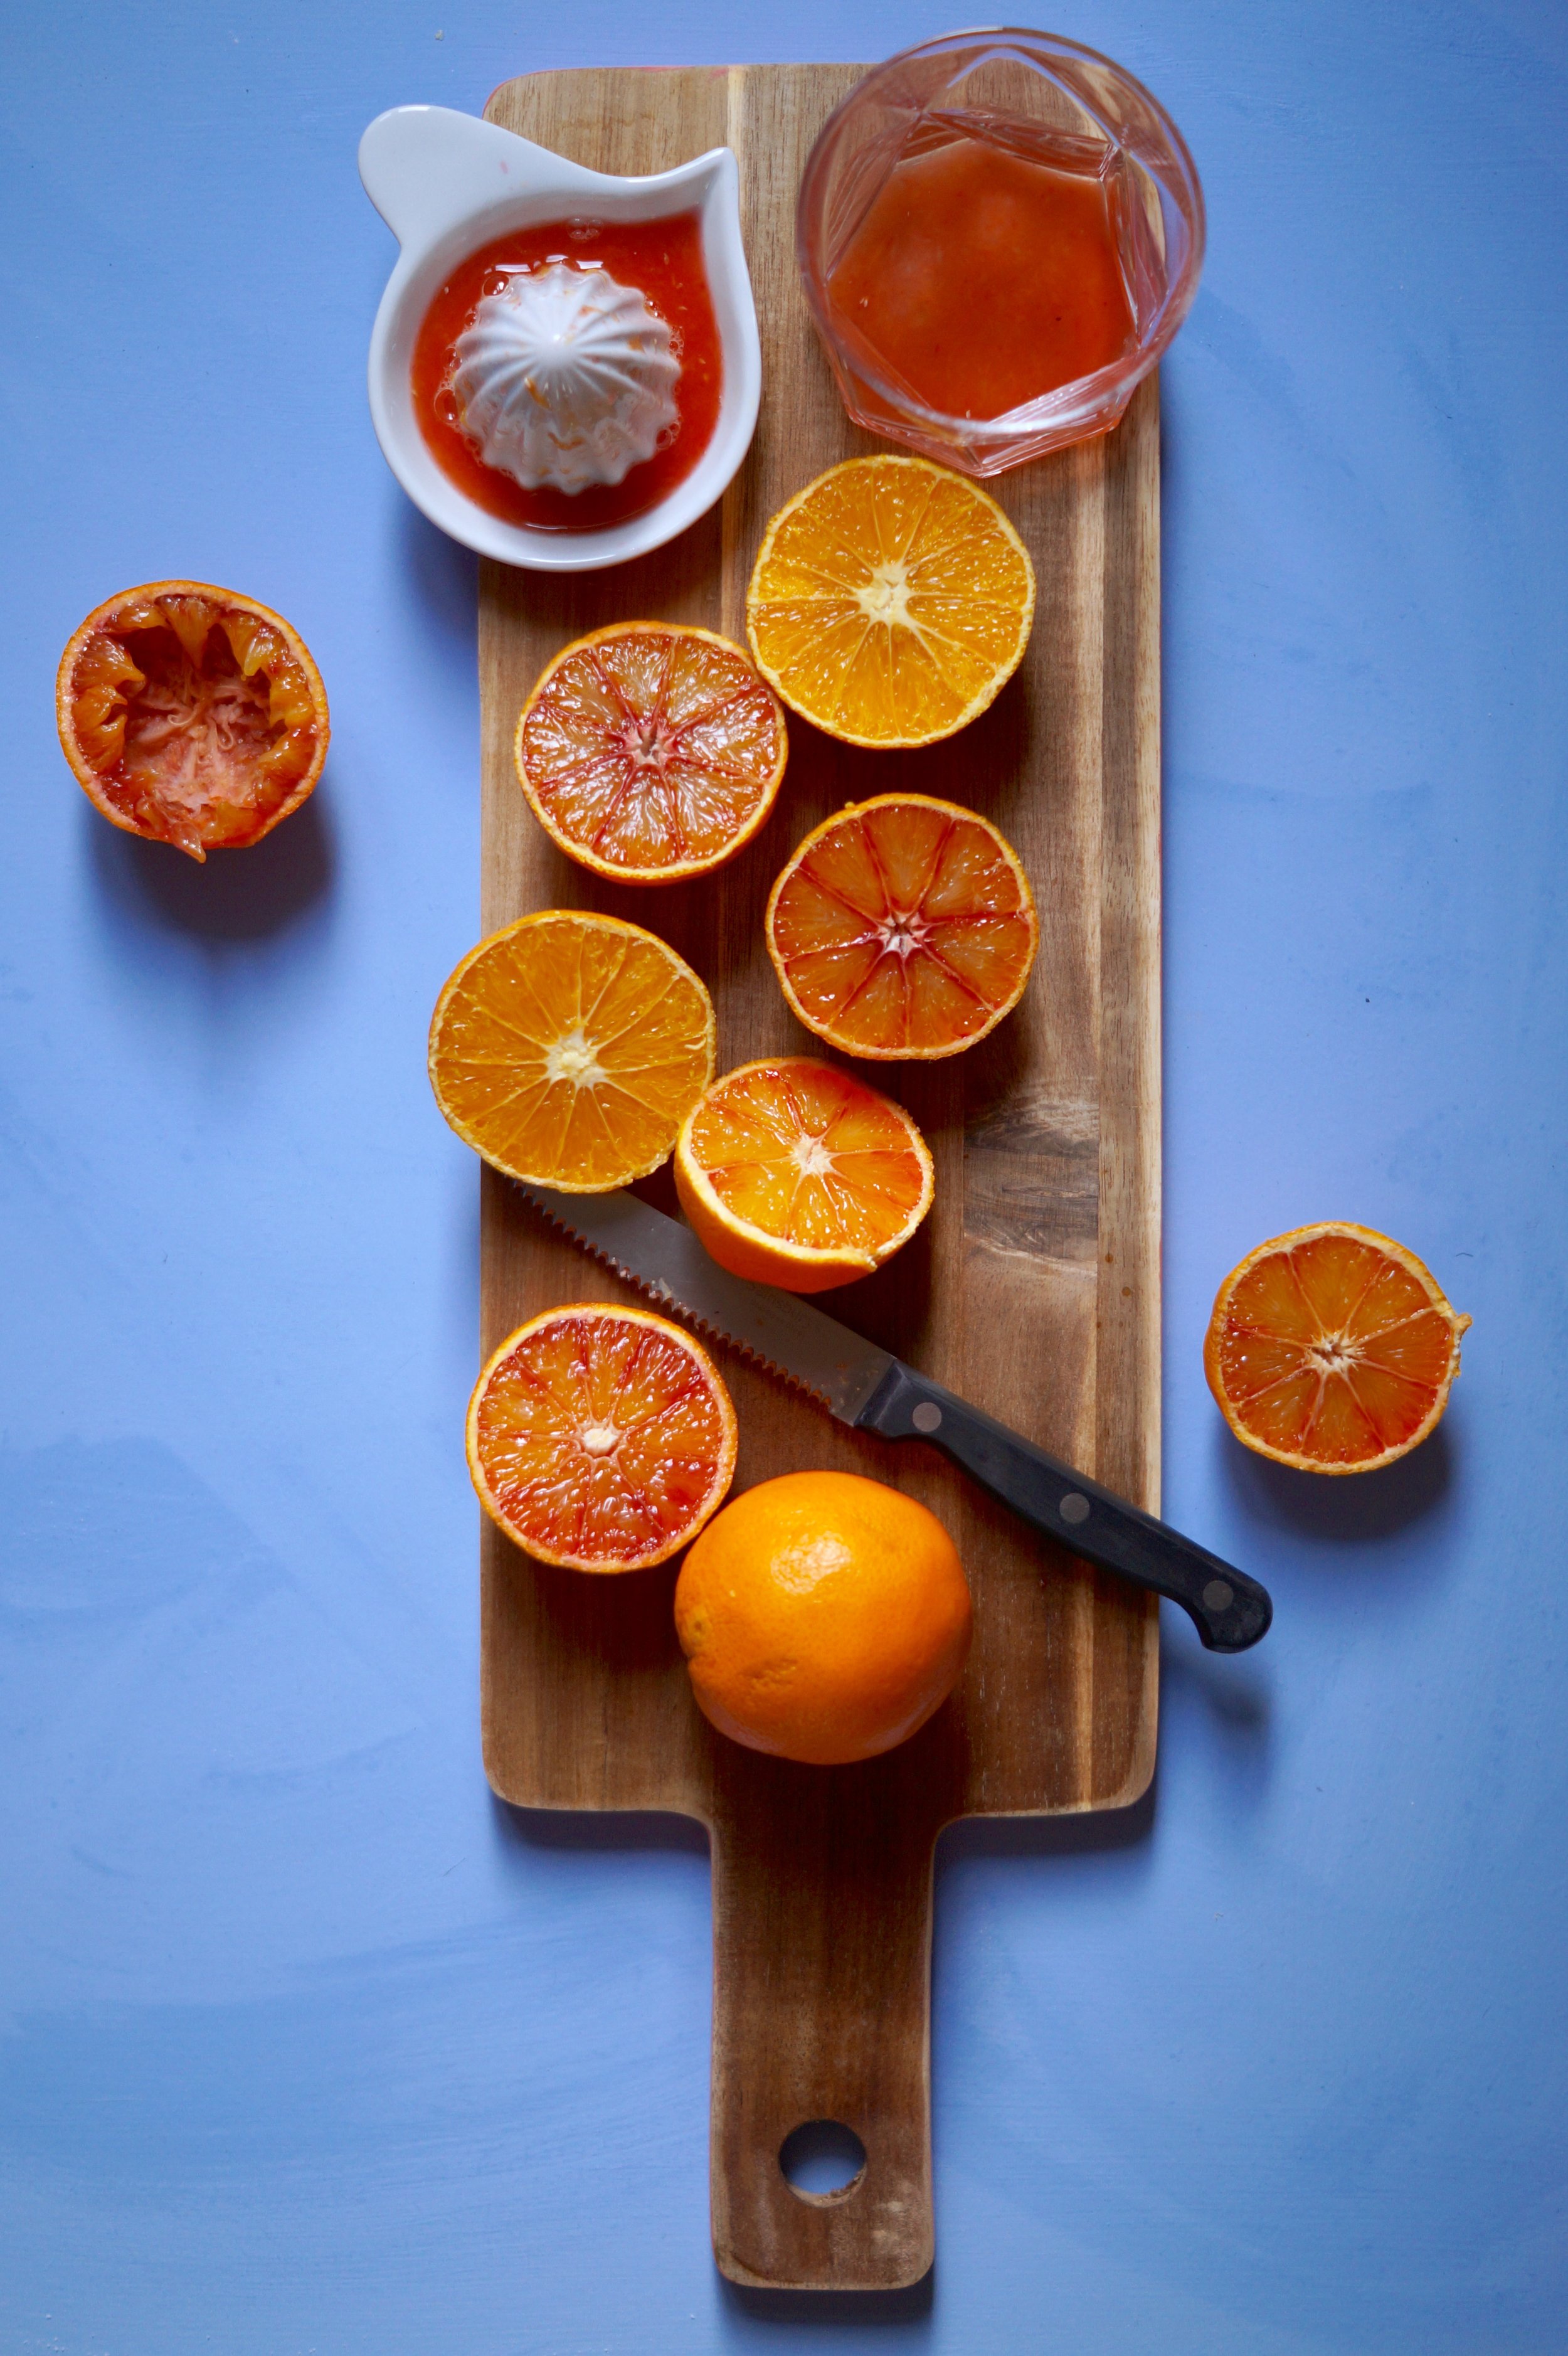
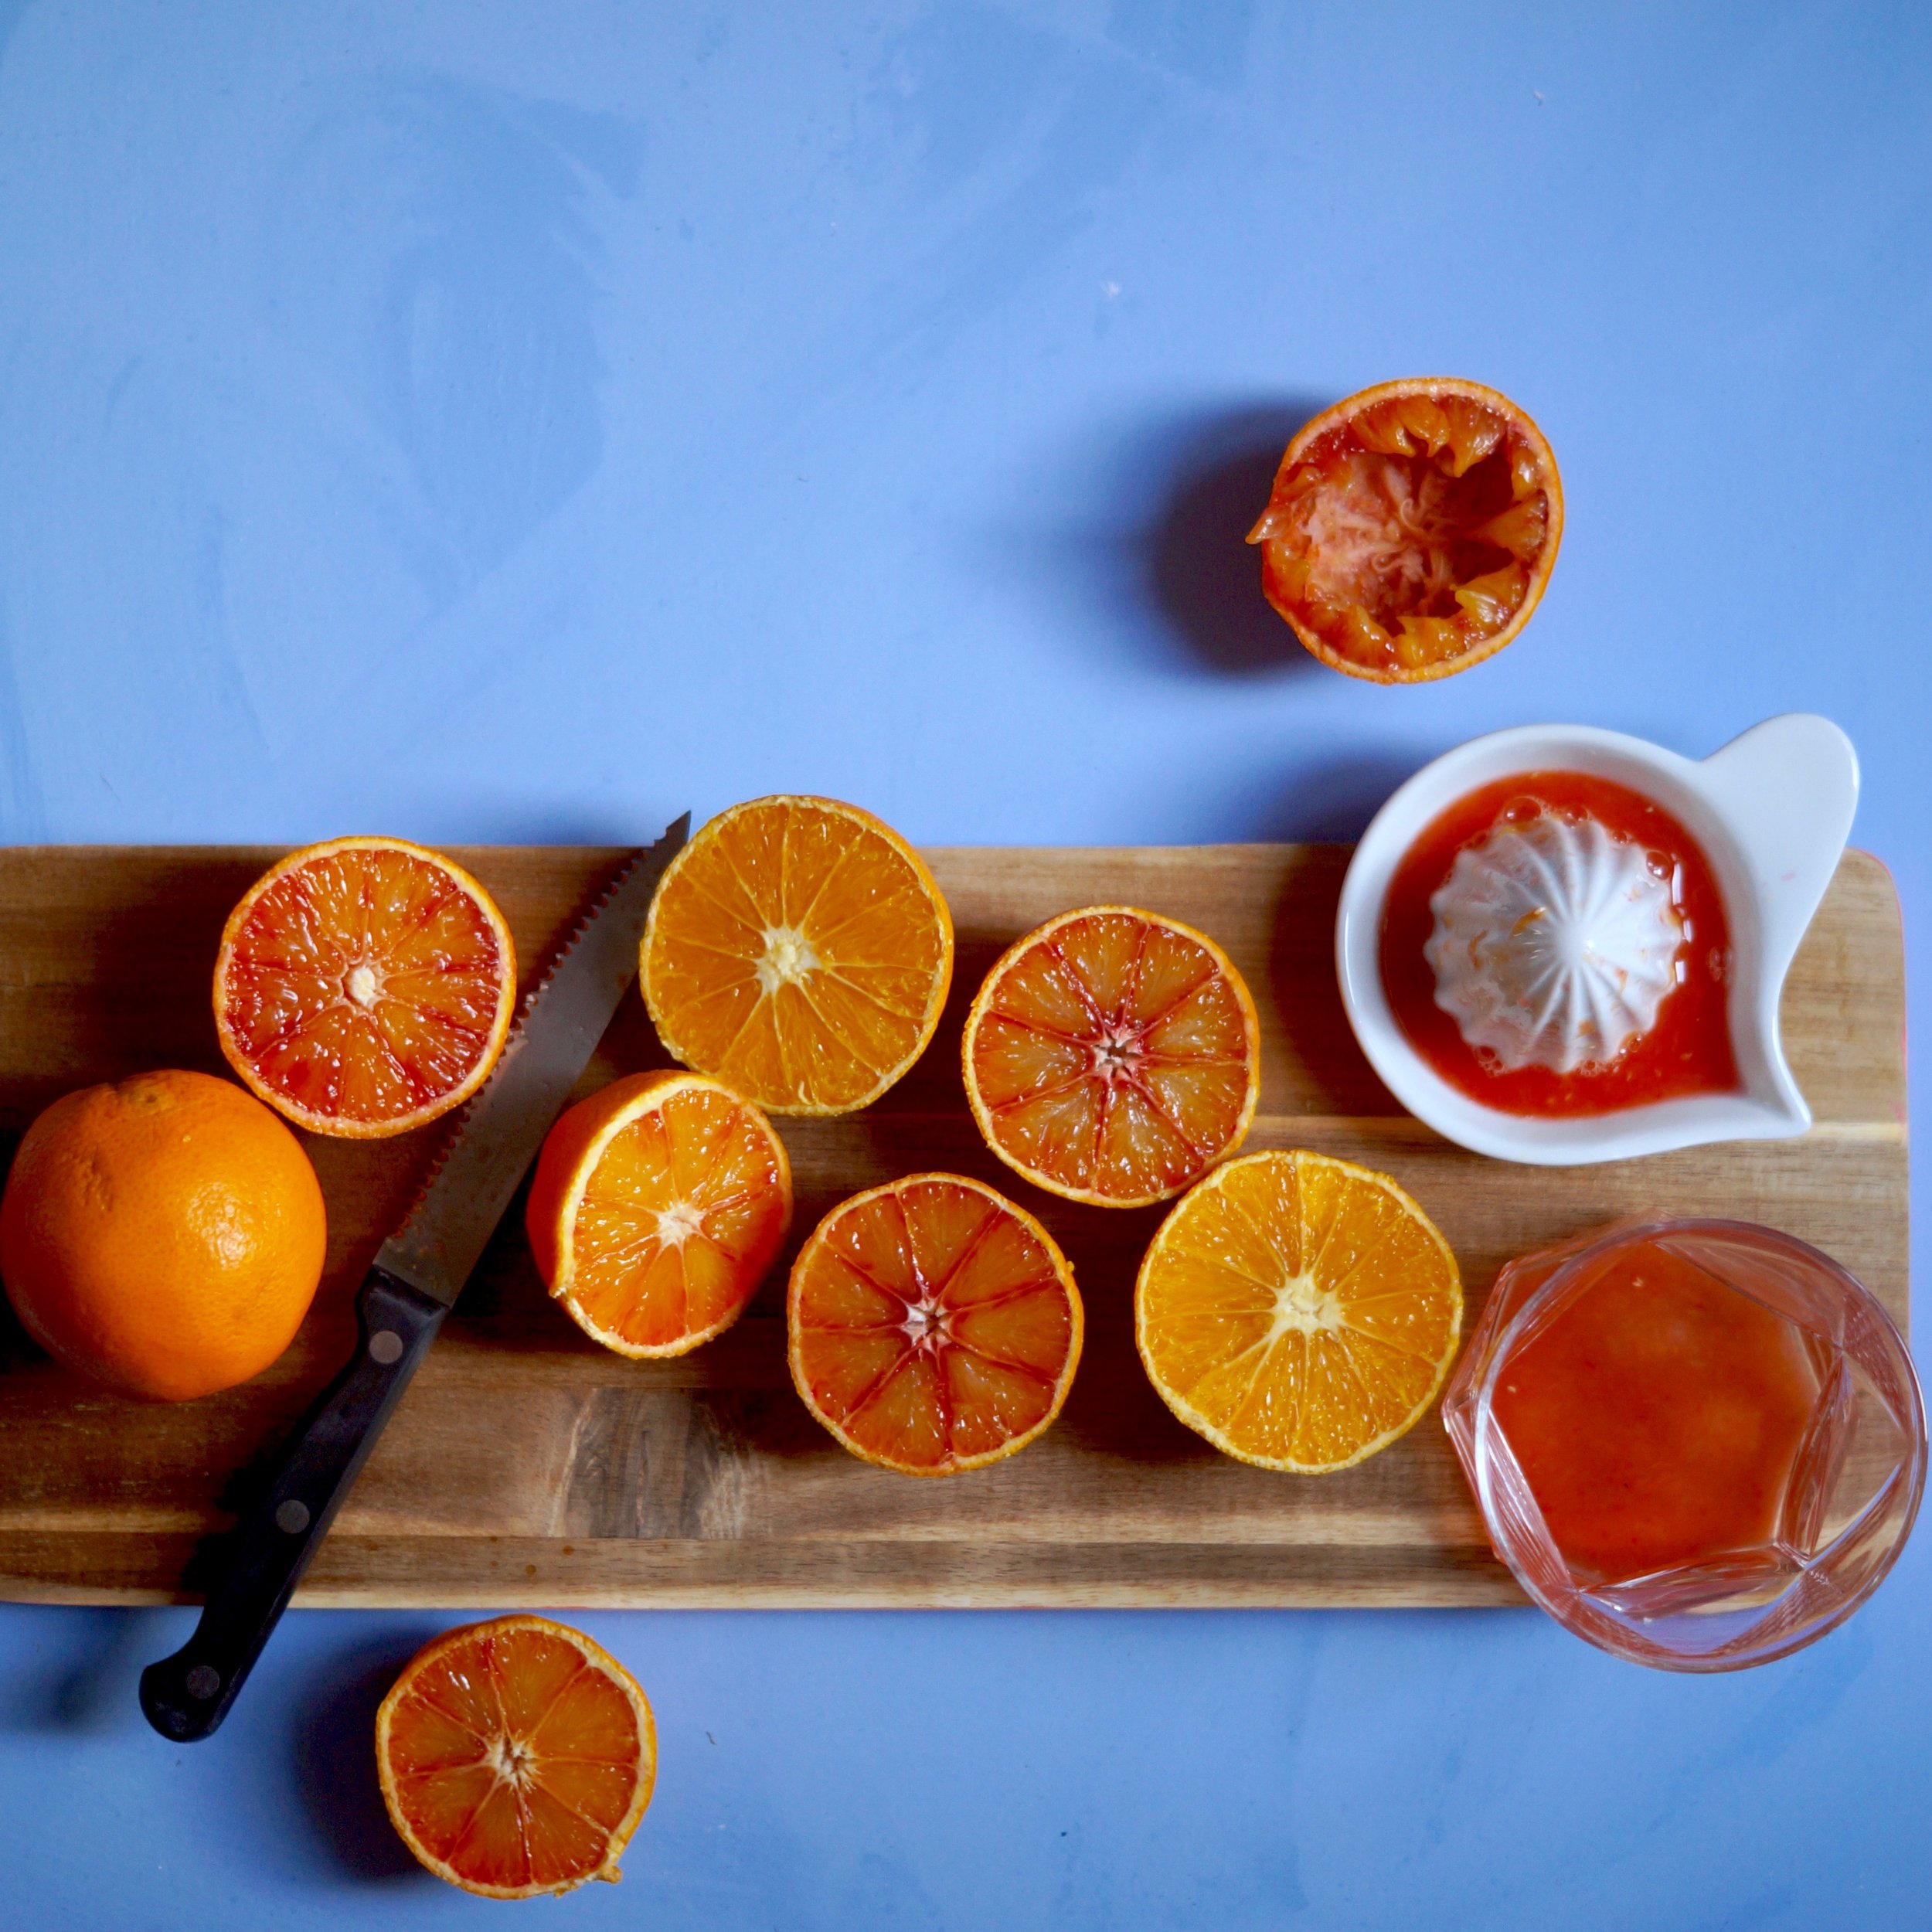
I'm noticing signs of Spring this week. Only small ones but they're there none the less. Daffodils are shooting, my Hellebore is blooming and Yorkshire rhubarb abounds. With all this longing for Spring I feel at risk of wishing away Winter, though February may be cold it's not without it's own seasonal joys. This leads me to the blood orange, quite possibly my favourite Winter fruit, an injection of sunshine in the darker months and whose short season is imminently coming to an end. It would be rude not to mark it's happening this year without a mention in a recipe.

As with the majority of our recipes, I had weekend brunch in mind, though any time of day would be fitting. For a weekend treat you could always add a little gin too, if needed!

I've kept it simple and light with a honey syrup rather than sugar. Honey adds sweetness whilst rosemary adds a subtle aromatic. You won't need all the honey, I highly recommend trying what's leftover on toast for breakfast or in any other way you would usually use your honey as it's really delicious. The following recipe serves two.

You will need:

  • 200g honey
  • 200g water
  • 4 sprigs rosemary
  • 250 ml freshly squeezed blood orange juice (This is around 5-6 oranges)
  • soda water

To make the honey syrup place the honey and water in a pan along with two of the rosemary sprigs. Bring to the boil and simmer for 20 minutes until reduced. Discard the rosemary and set aside to cool.

Place the blood orange juice into a measuring jug, add two tablespoons of the honey syrup and whisk to combine. 

Divide the juice between two tumblers along with a few ice cubes. Top up each glass with a little soda water and garnish with the remaining rosemary sprigs.


0 Comments

Share

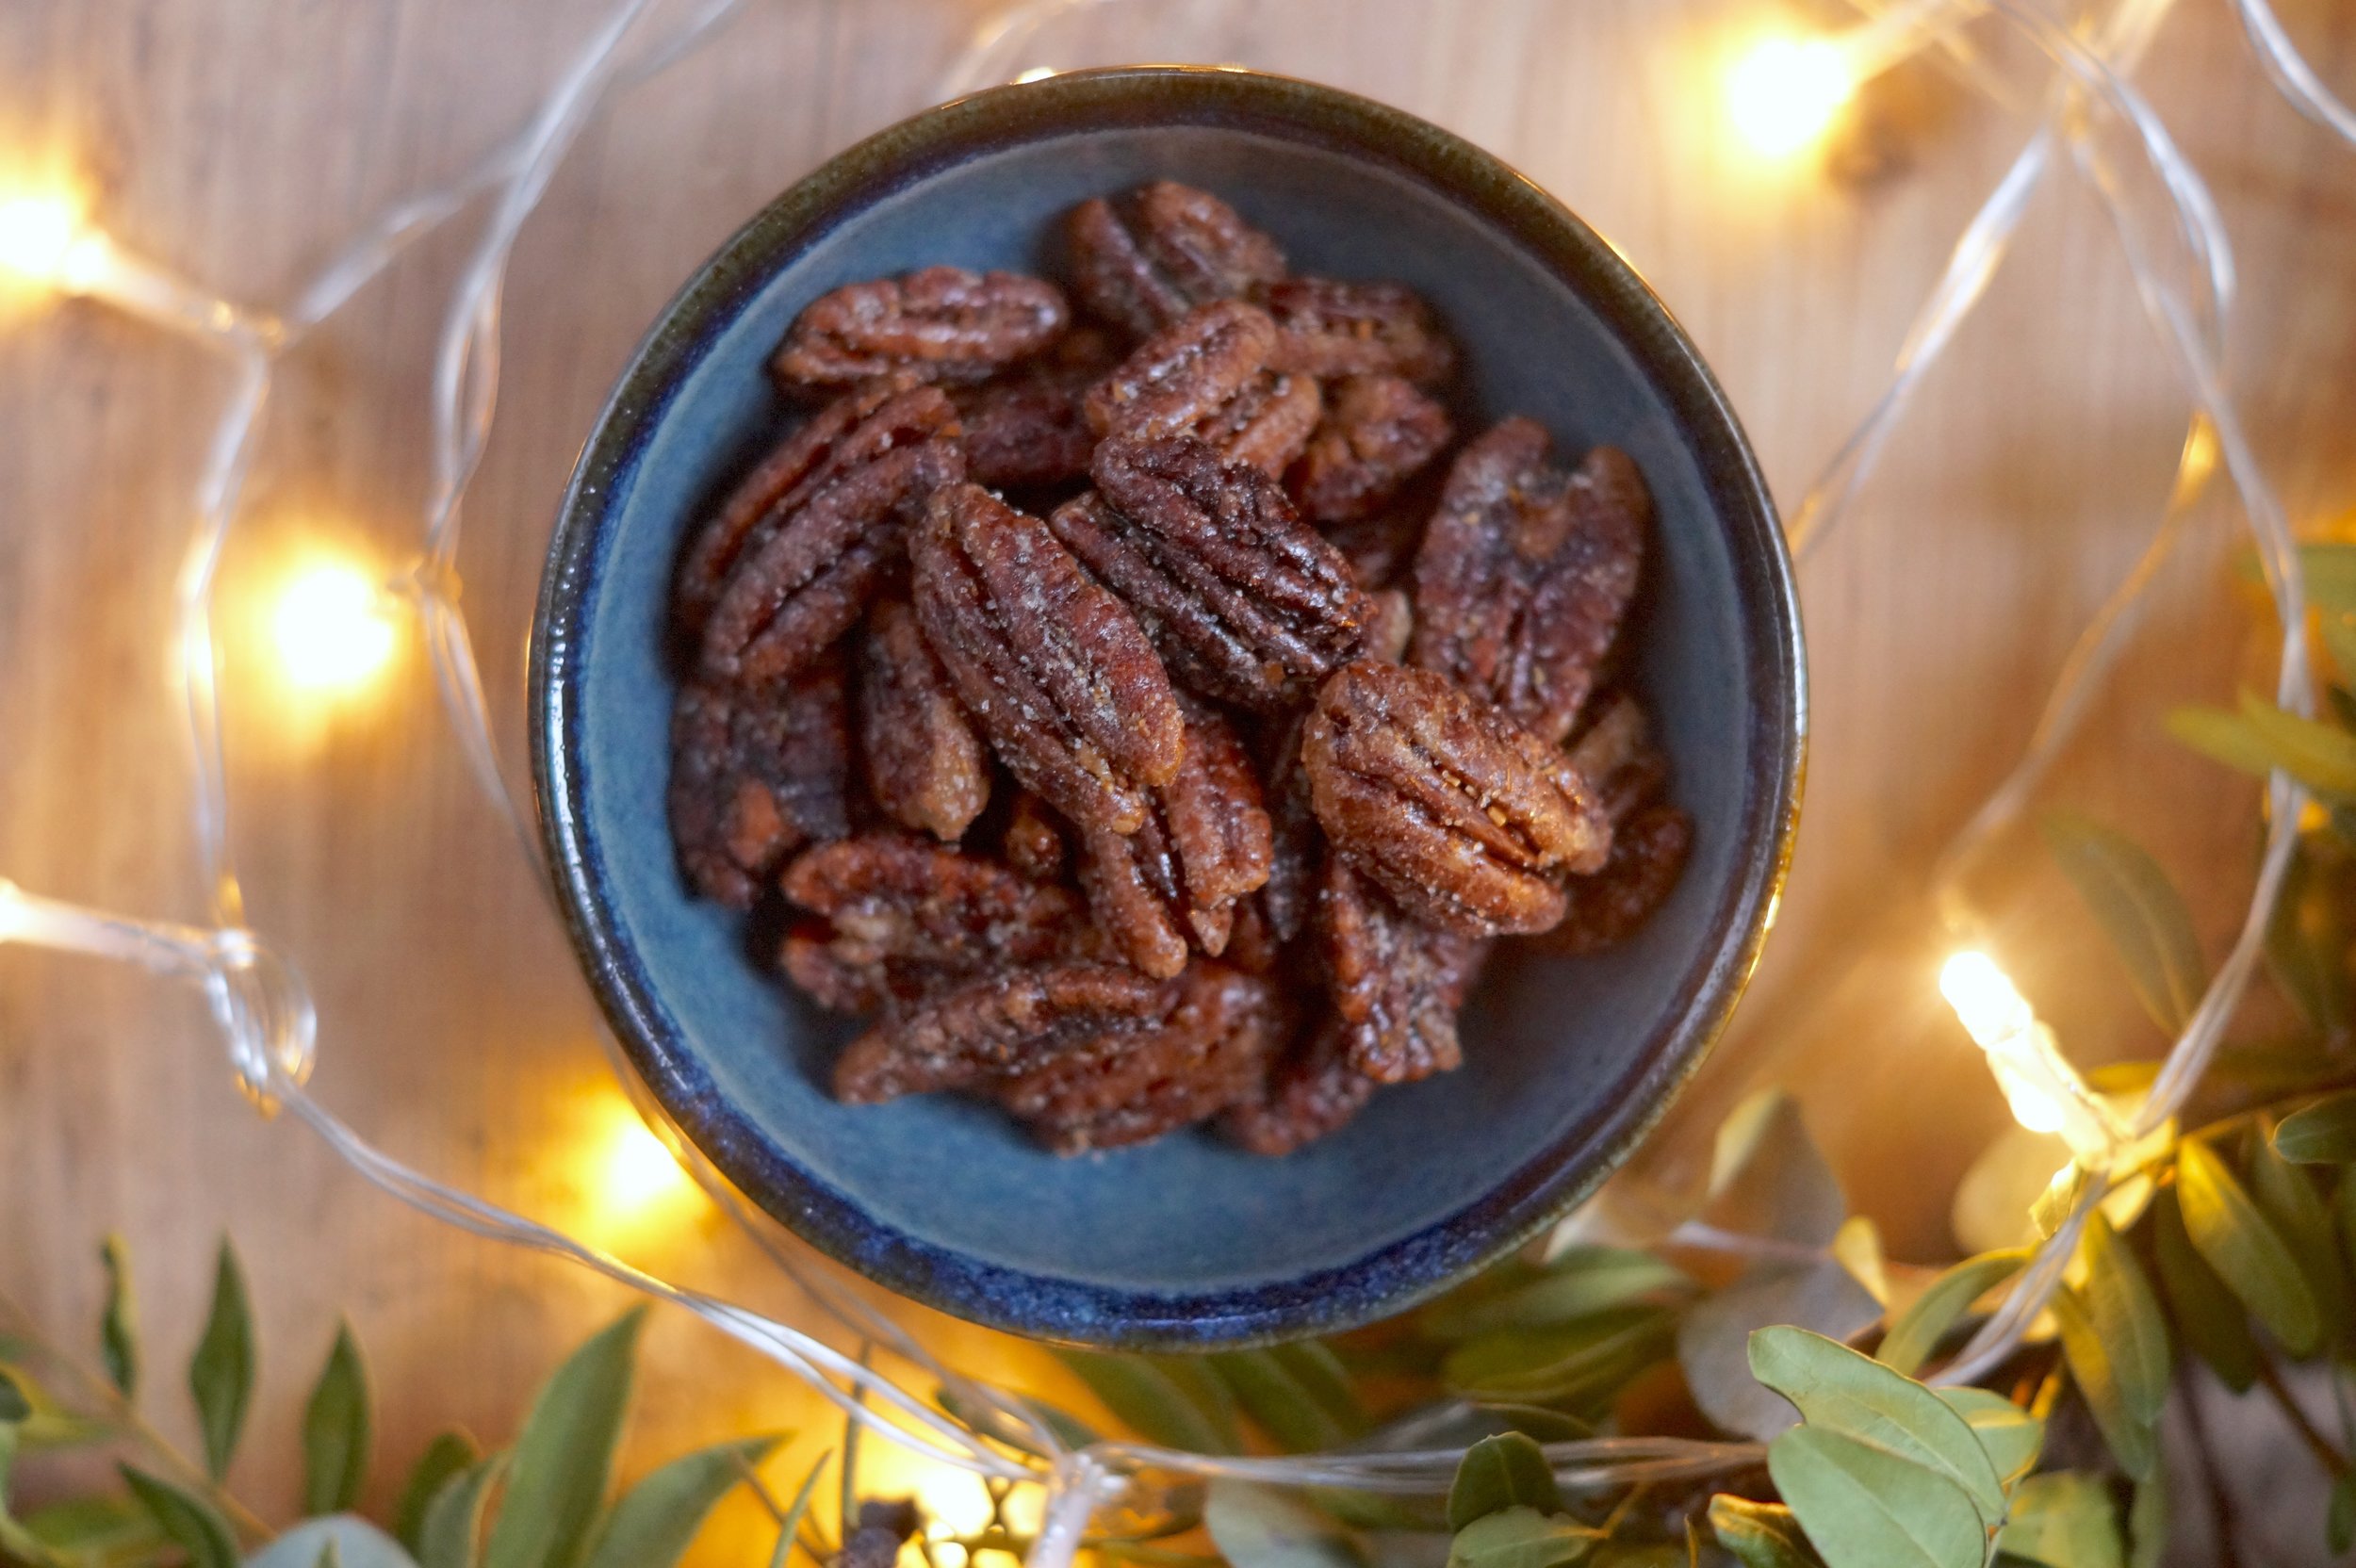
Recipe: Spiced salted pecans & Stories of festive happenings

2 Comments

Share

Recipe: Spiced salted pecans & Stories of festive happenings

I really don't know how Christmas managed to sneak up on me unawares again, but here we are with just a few days to go, i've not finished my Christmas shopping, the presents still aren't wrapped, the tree is up (Complete with hand lettered bauble by Kayleigh Tarrant) though I had to be forced into getting one. I have a small mountain of festive baking orders to complete, which i'm looking forward to creating, however my oven has decided to give up the ghost. I also promised myself weeks ago I'd share a couple, if not several recipes for festive gifts here. Sadly, it was not to be. However I would like to share with you what's been happening over the last few weeks, as well as working hard (Christmas + catering industry = crazy times!) there's been plenty of festive play also... 

Firstly I need to tell you that as I write this post I'm also snacking on macarons from Iceland (I'm talking economy frozen food store not country) They are £5.00 for 12 and are also rather good. I fear I may soon be out of a job. 

We spent a dream of an evening at Number 27's wreath making class which Louise wrote about over here, there's also a beautiful video of the evening captured by Rachael Grace over here

We had afternoon tea with Janet then went Christmas decoration shopping in John Lewis, though I decided to opt for homemade decorations this year in the form of brown paper stars (Again, I had great plans for a tutorial post here, maybe next year!)

I'm going to dedicate this recipe to everyone who is as unprepared as I am this festive season. Those people who leave all the things until the last minute then spend more time panicking about getting it done than actually getting sh*t done. If you're in that place I salute you, we can get through this.

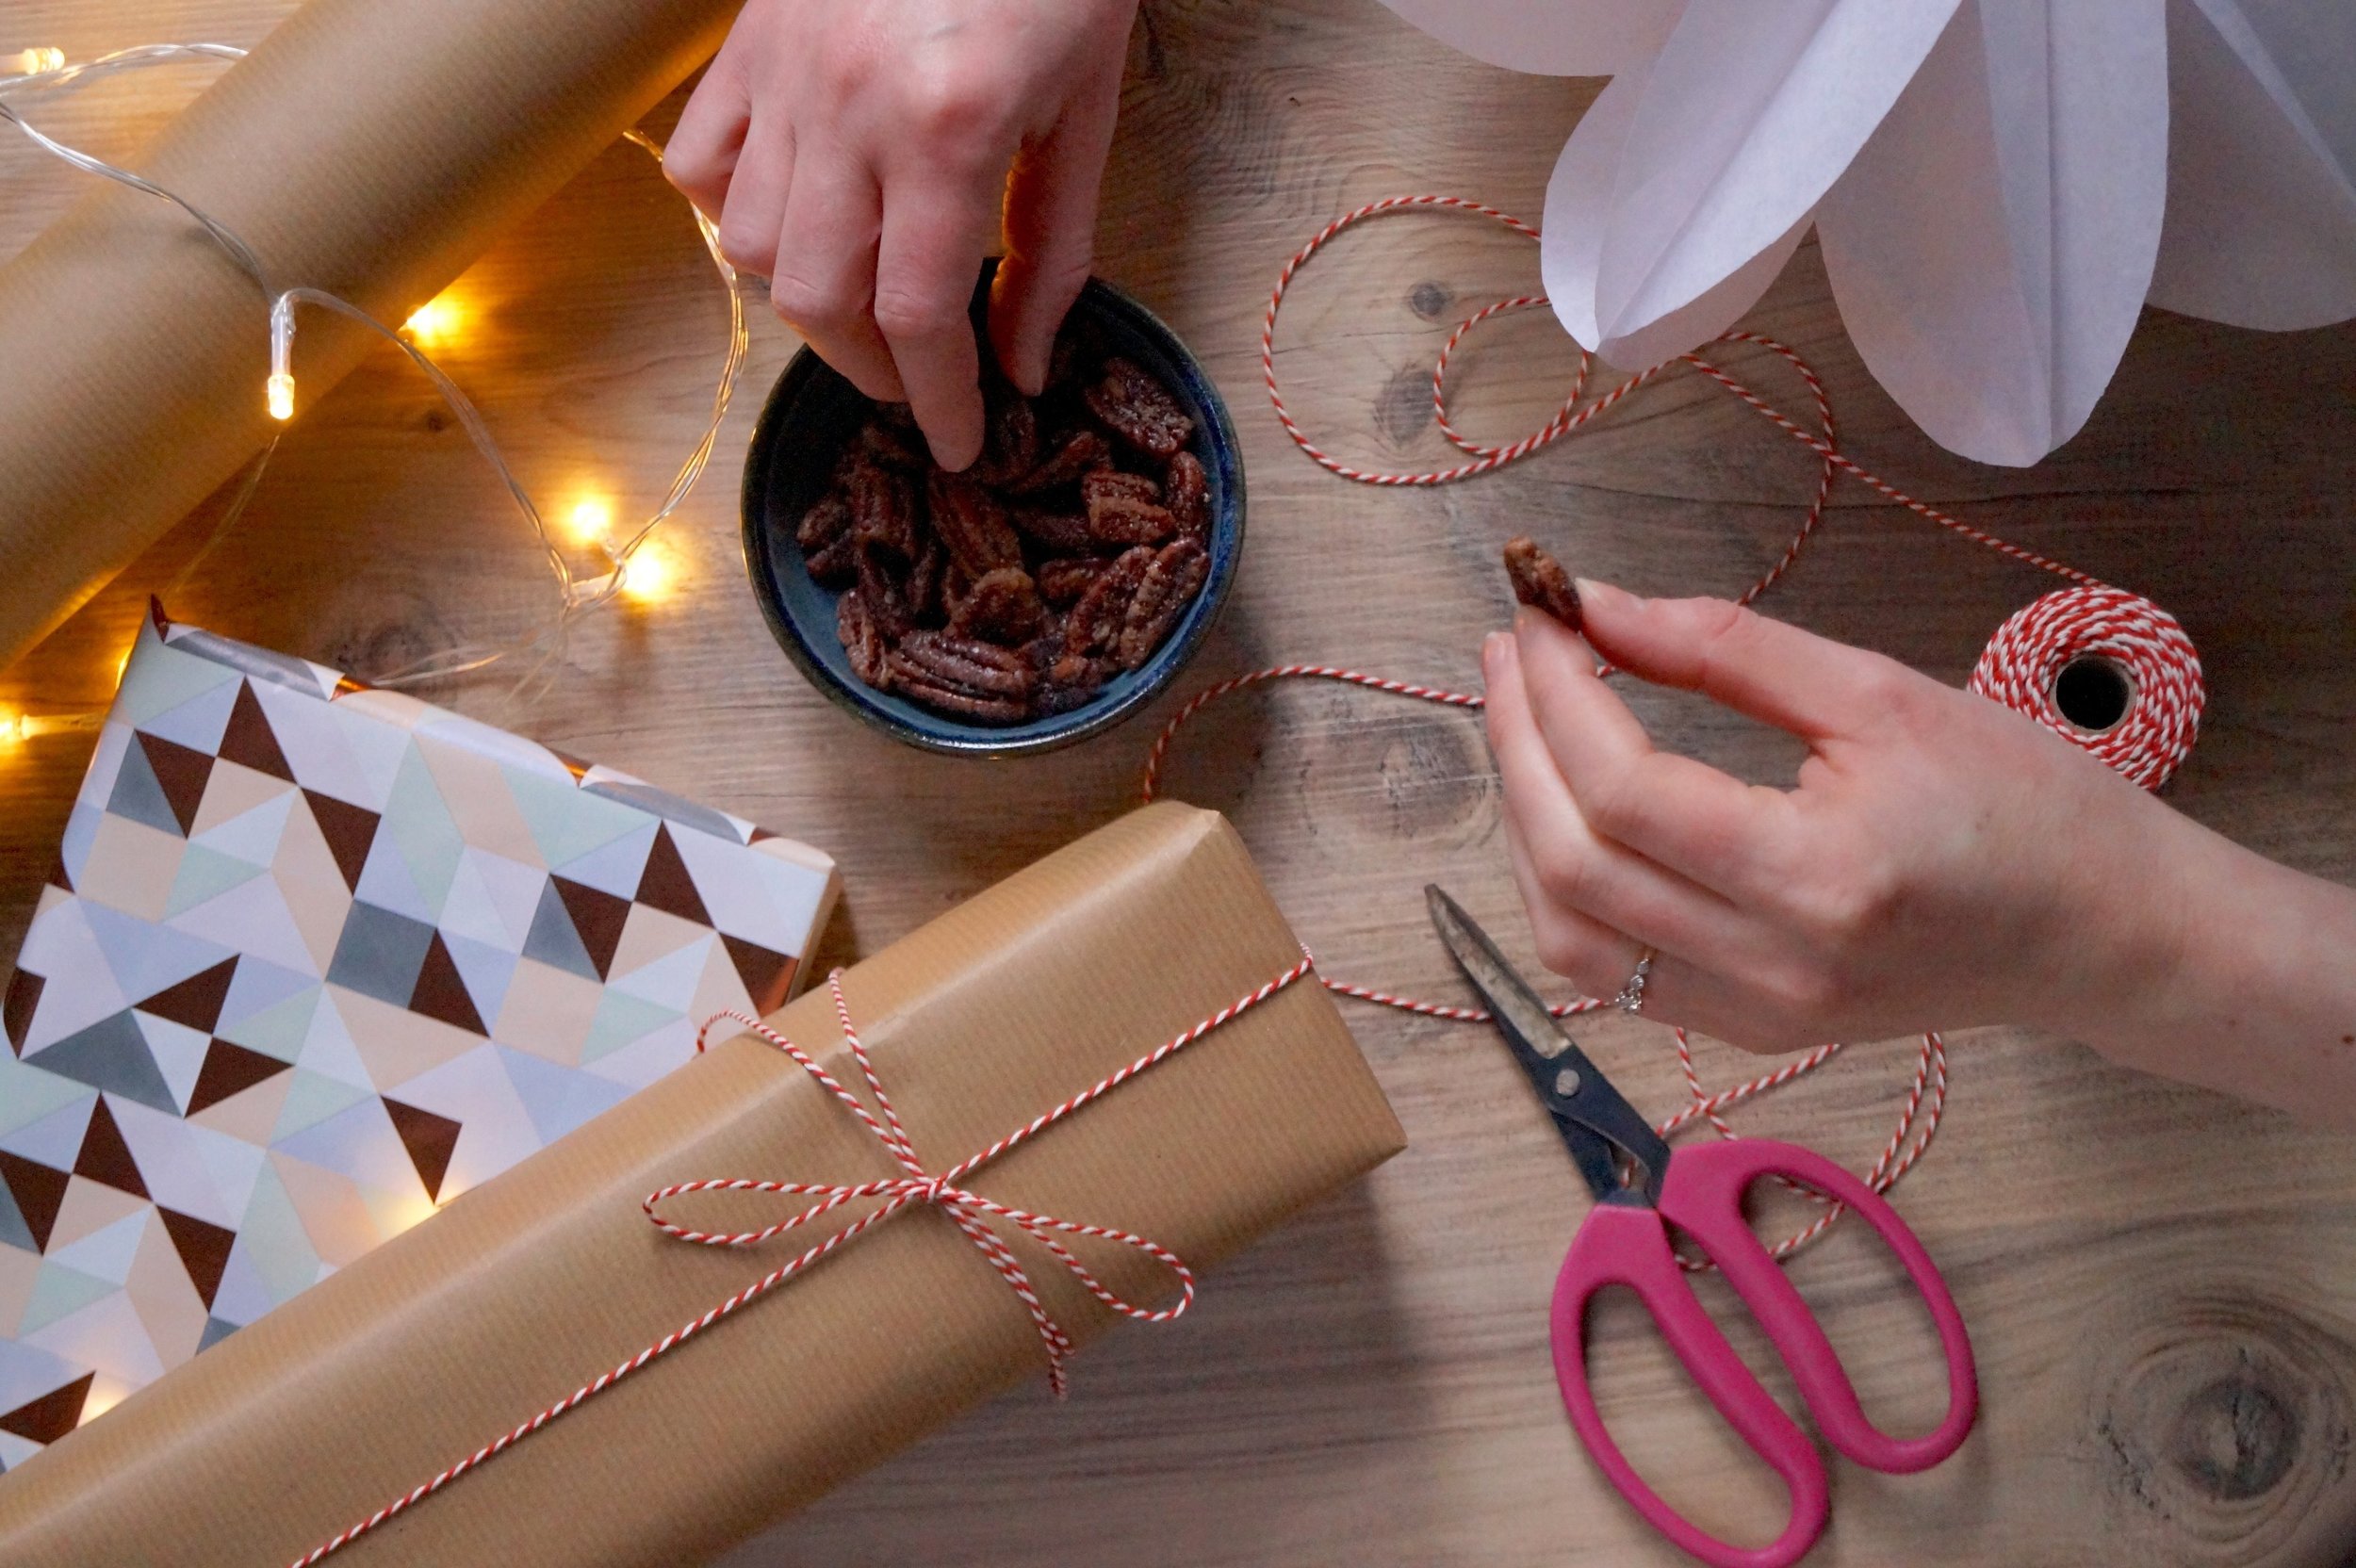
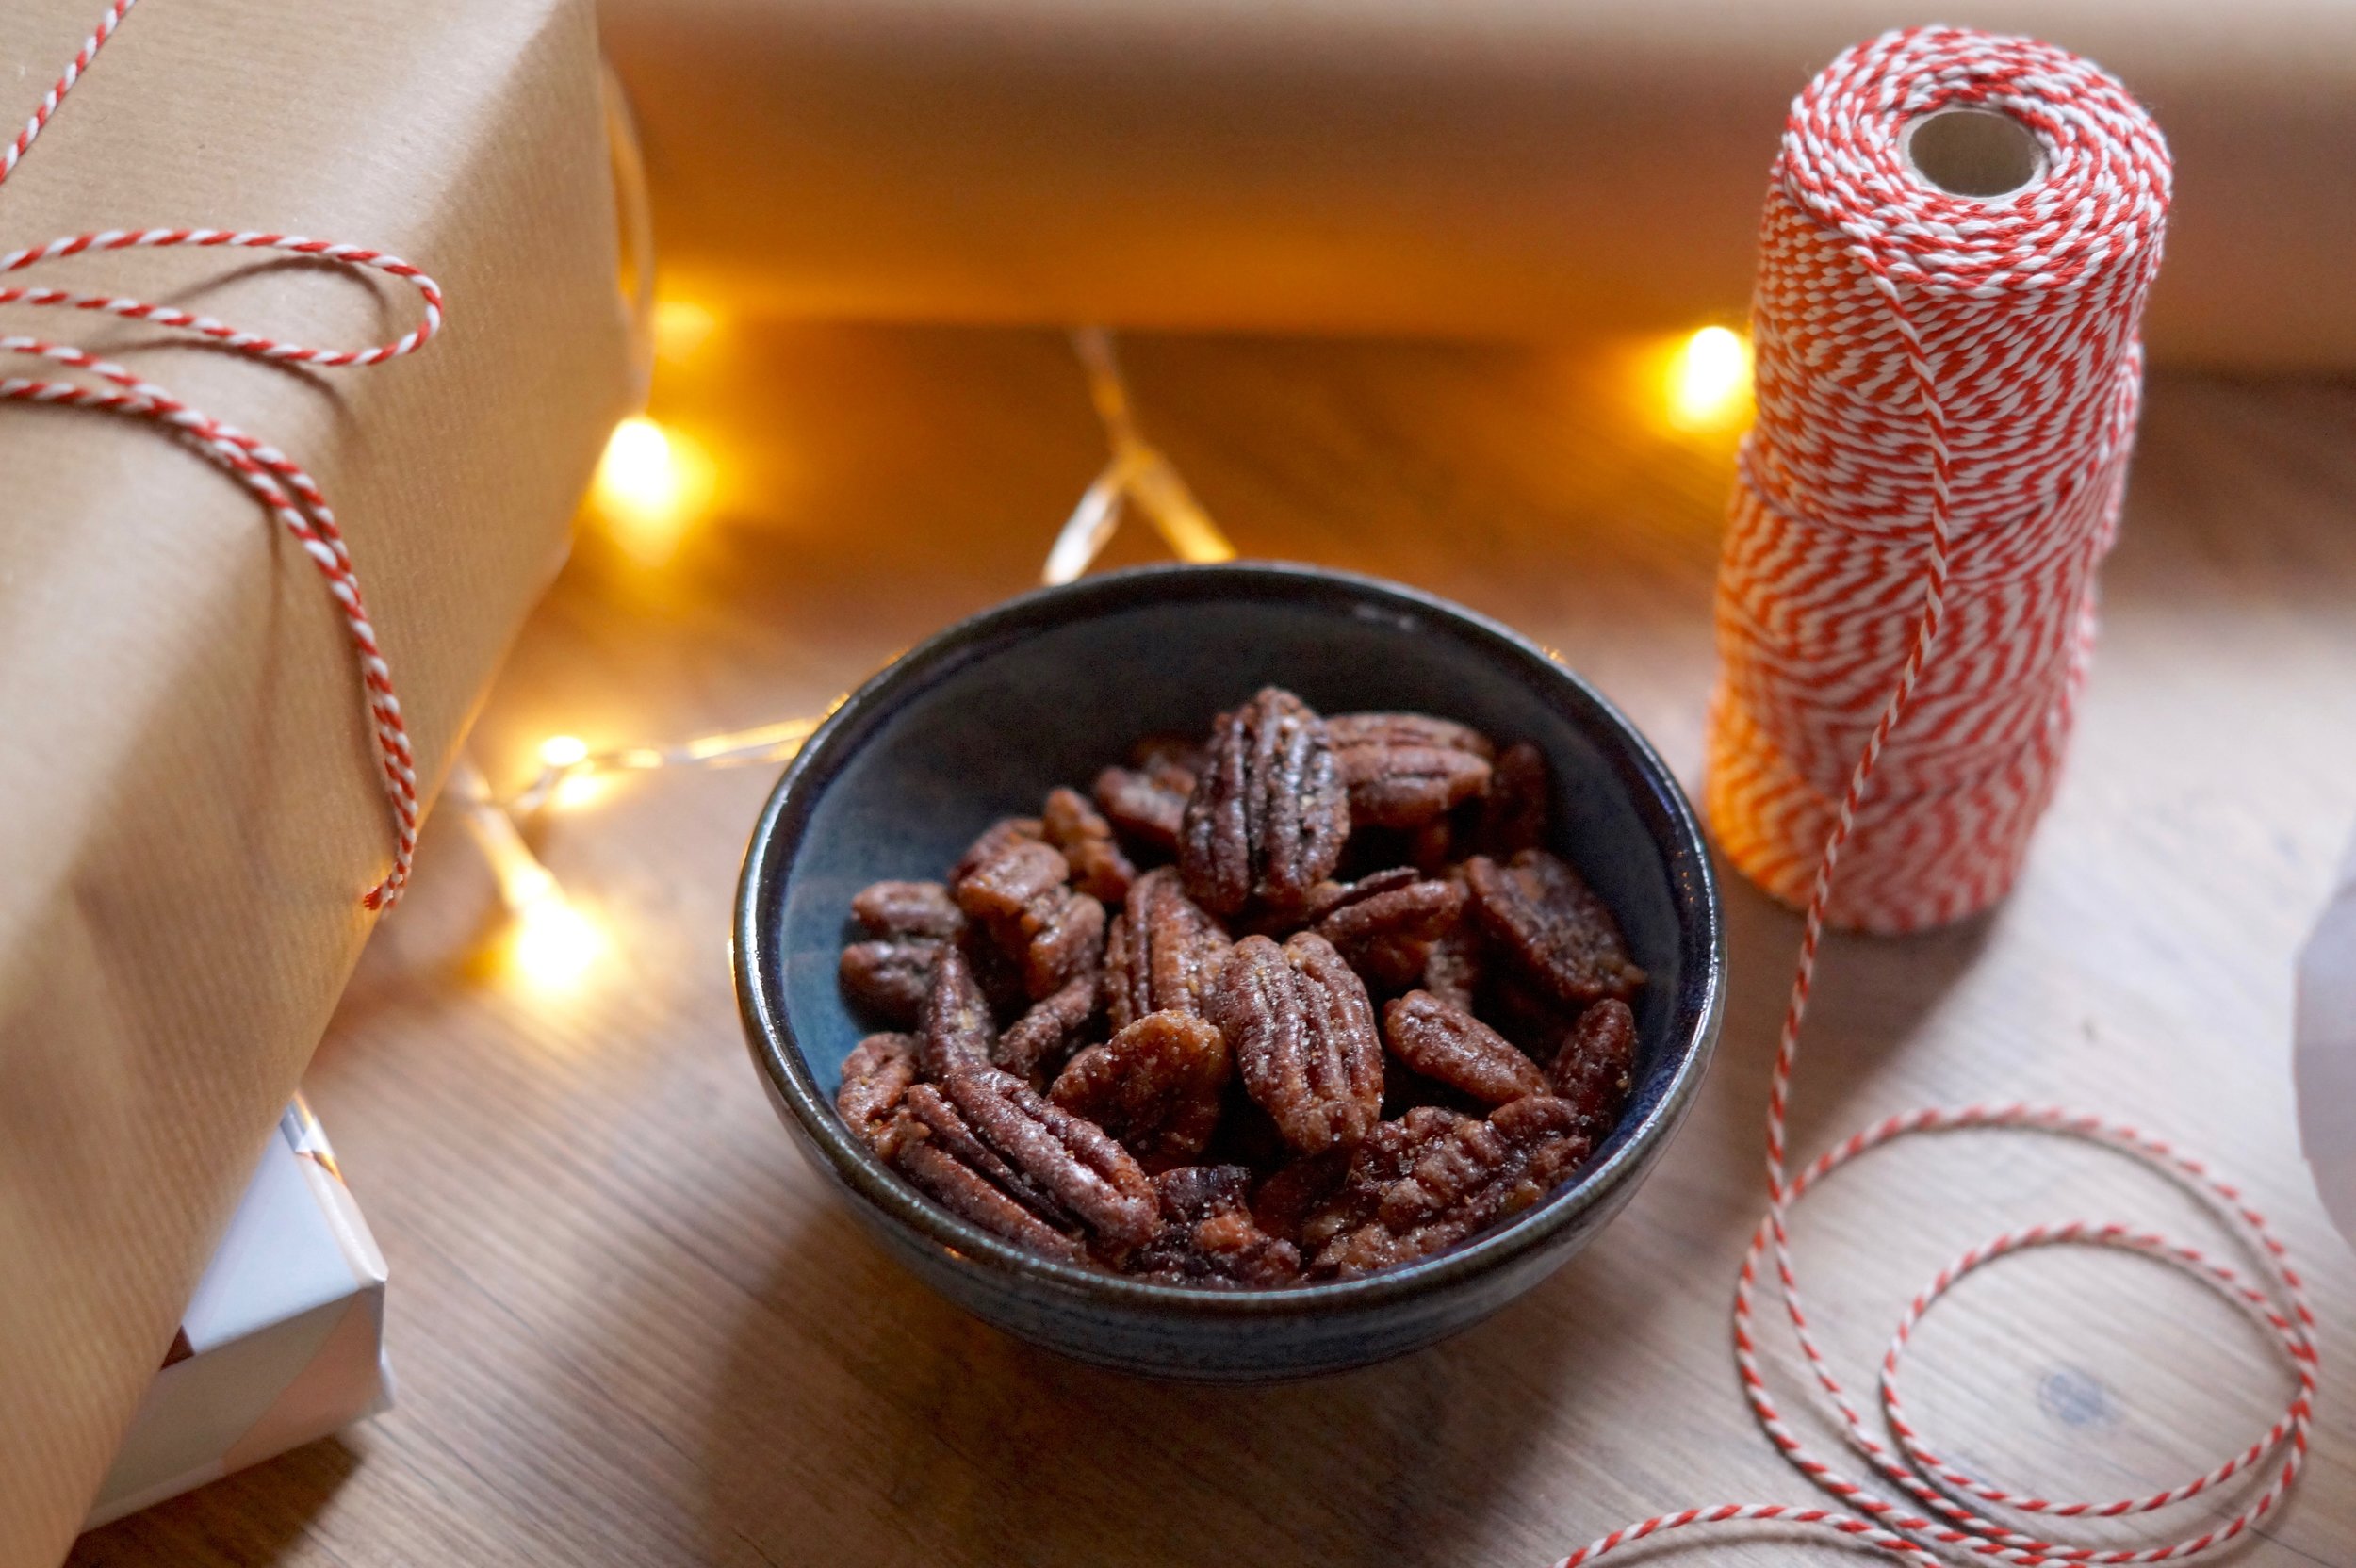
This is a really simple recipe, perfect for 11th hour homemade gifting, great to have on hand in case of any surprise visitors and splendid for snacking on whilst finishing that last minute wrapping. They go down rather nicely with a glass of Prosecco too. 

You will need:

  • 250g granulated sugar
  • 250ml water
  • 250ml pecans
  • 1 Tbls Olive oil
  • 1 tsp salt
  • 1  further tsp granulated sugar
  • 1 tsp cumin seeds
  • 1 tsp caraway seeds

Preheat your oven to 190°C/175°C fan/gas mark 5. Combine the water and sugar in a saucepan and bring the mixture to a rolling boil to create a stock syrup. Add the pecans to the boiling liquid. Allow the pan to come up to the boil again and continue to boil for 6 minutes then drain the nuts through a colander, discard the syrup. Place the drained nuts onto a baking tray lined with parchment, drizzle over the olive oil, stir to coat and bake the nuts for 6 minutes. While the nuts are baking prepare the spices. Place the cumin and caraway seeds in a small frying pan over a medium heat and toast for a minute or two until aromatic. Combine the nuts with the salt and sugar and blend together, you can grind them in a spice grinder or pestle and mortar for a more even distribution. Once the Nuts have toasted remove from the oven and toss through the spice mix. It's best to try and wait till the nuts are cool before tasting so they can crisp up, however this is quite a test on the old willpower, particularly when the nerves are a little fraught. 

Feel free to mix up the spices, a touch of smoked paprika or chilli goes down a storm. If you don't have pecans to hand Walnuts work well too, whole almonds and hazelnuts can be used but increase both the boiling and baking timings by a couple of minutes. 

At the end of the day all that really matters is spending time with family & friends, eating plenty of good food and sipping on the odd sherry. I hope you have a fantastic Christmas and all best wishes for a terrific 2017!


2 Comments

Share